Learn How to draw Venom Quickly & Easily!
We would highly recommend against messing around with this scary dude, and that is why you should prepare yourself with a series of guiding lines in this how to draw Venom tutorial. Create a 3/4th of an oval at the very top for the head (00 min 24 sec). The rest of the curves are for the big, bad teeth. Once those are in place, you can switch to darker strokes.
Use those to draw the eyes of the beast (01 min 06 sec). Basically, you should use the circle you just created and put the eyes right on top of it. This is a super-villain which means his face should look extra frightening. After that, add those trademark dots between the eyes (01 min 42 sec). If everything’s going good so far, move on to the next stage of the how to draw Venom tutorial – the lower part of the head.
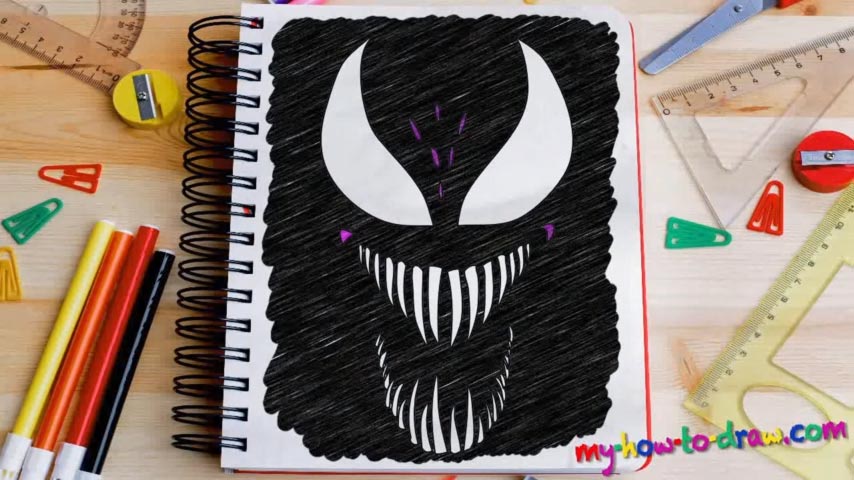
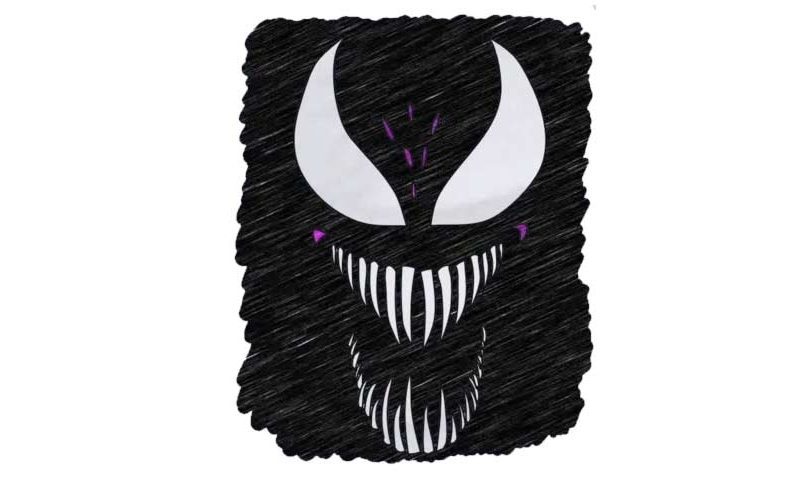
Please keep in mind that the closer you get to the middle of the mouth, the bigger the teeth get (02 min 03 sec). All you’ll have to do at this point is draw them all over the upper and the lower jaws and use the rough sketch as your guiding light. The thing is – the final drawing doesn’t feature any of those lines and the background is pitch-black.
Take your time with the teeth and make sure everything looks good. Before you get to coloring, erase the light strokes (05 min 31 sec). Paint the eyes and the teeth using a white pencil – the rest of the elements should be in pink. That contrast in colors sure does create an overwhelming atmosphere, doesn’t it?
Before you learn how to draw Venom, did you know?
Venom is the greatest enemy of Peter Parker. When this alien entity finds someone weak and full or rage, it merges with the host and becomes one with him/her. At first, it wanted to be with Spider-Man himself, but when he rejected it, this evil entity found a new host. It is strong, ruthless, and can think many steps ahead.