Learn How To Draw A German Shepherd Puppy Quickly & Easily
The circle in the upper left corner is for the brute’s head (00 min 07 sec). Add two dividing lines and a much smaller circle inside for the facial features (00 min 11 sec). As always, the triangles on top are for the ears (00 min 17 sec). For the body, you’ll need two additional circles (00 min 21 sec).
Don’t forget about the skinny lines for the feet and the tail to complete the intro to this how to draw A German Shepherd Puppy tutorial. The eyes are identical to each other, but because of the angle, the right eye seems bigger than the left one (00 min 35 sec). The nose looks a bit like a vintage drawer handle (00 min 48 sec). To cover the mouth and the lower jaw, use two simple lines.
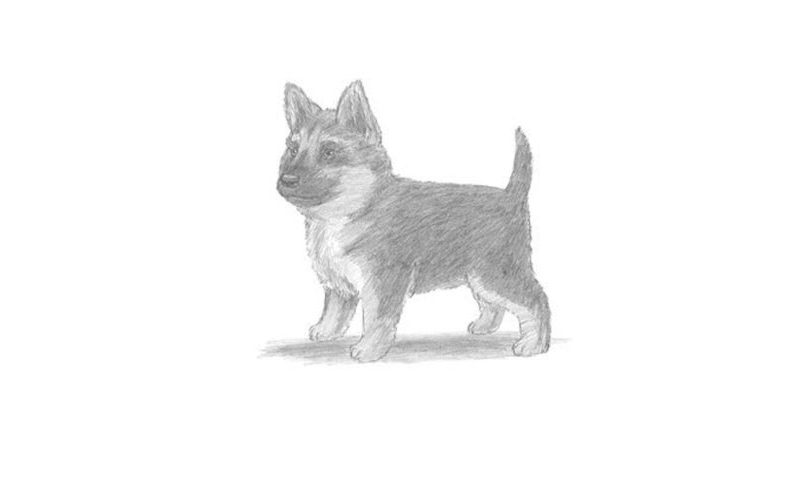
Next, use short, wavy lines to outline the head (00 min 58 sec). The legs, the next part of this how to draw A German Shepherd tutorial, should follow the shape of the guiding lines, but be much thicker (01 min 10 sec). The tail looks like a sharp dagger (01 min30 sec). Before saying goodbye, make sure to get rid of the guidelines.
Before you learn how to draw A German Shepherd Puppy, did you know?
This is another one of those cute doggies that social media are so fond of. At the same time, the mature German Shepherds are quite big, strong, and smart. As working dogs, they are capable of great things, including protection of livestock, hunting prey, and even helping the cops get rid of bombs.
Originally, they were bred for herding sheep, but, over the course of time, these dogs proved their worth in other areas as well. Search-and-rescue, acting, and disability assistance are among other talents of these incredible four-legged animals. The average lifespan is 10-13 years; the average weight of a male is 30-40kg.
