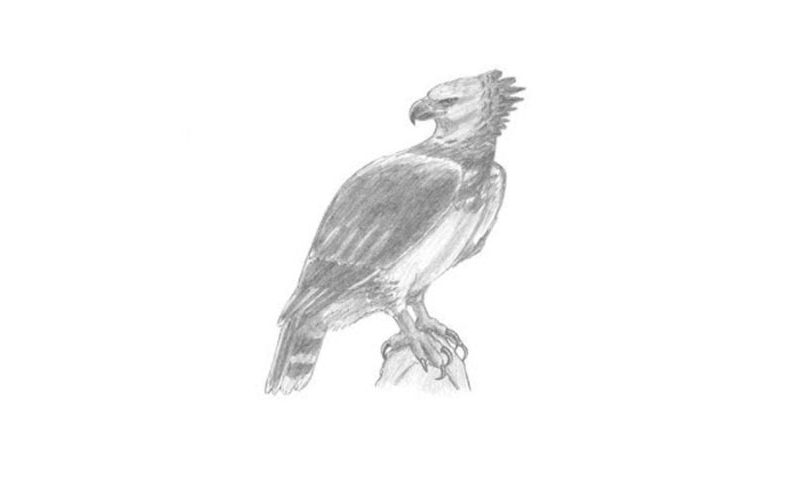
Learn How To Draw A Harpy Eagle Quickly & Easily
Start with the guiding circles (00 min 07 sec). The one in the middle should be bigger than the one above it. See those half-ovals on both sides of the large circle (00 min 10 sec)? They make it look like an eye and cover the tail and the upper part of the body. Don’t forget the beak (00 min 15 sec).
To complete this part of the how to draw A Harpy Eagle tutorial, add two simple lines for the legs and the tail (00 min 19 sec). Alright, now switch to hard strokes. For the eye to look realistic, you’ll need to make it triangle-like, facing to its right (00 min 23 sec). Cut the beak into two parts (00 min 31 sec).
The upper half should be longer and curve down with a sharp peak. For the crest, use a series of short, wavy strokes – make them bigger the further you move to the right (00 min 41 sec). The gigantic wing covers most of the body (00 min 54 sec). You’ll need straight and curvy lines for it.
The feet are the next step in this how to draw A Harpy Eagle tutorial (01 min 01 sec). Each comes with three toes. Finally, divide the tail into three parts with vertical lines and that’s it (01 min 22 sec)!
Before you learn how to draw A Harpy Eagle, did you know?
AKA the American harpy eagle, this is quite an interesting bird. First of all, it’s one of the biggest and strongest eagles on the planet. Secondly, it’s the largest and most dangerous raptor living in the rainforest. These days, you can find most harpy eagles in Brazil where they moved in recent decades.
The beautiful combination of white, black, and grey on the skin makes it look like the eagle is wearing a stylish costume. It might sound strange, but the female harpy eagles are actually a lot bigger than the males (almost twice as big). You won’t find these birds anywhere else except for the Americas.
