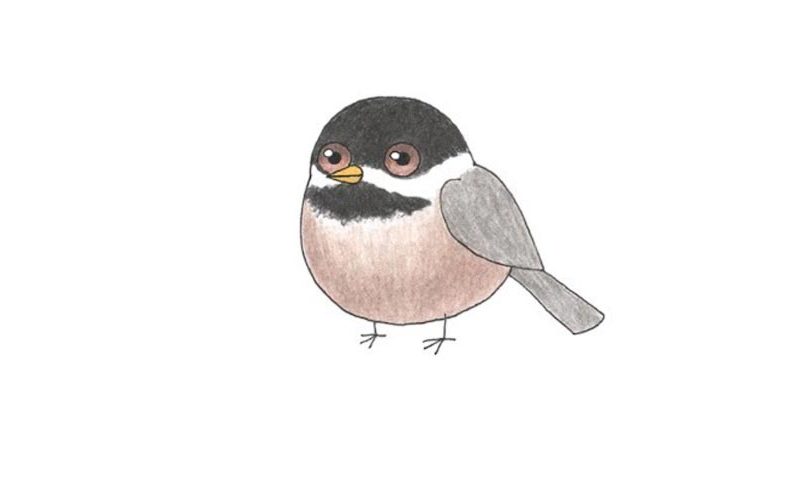
Learn How To Draw A Chickadee Bird Quickly & Easily
The beak is like a triangle with a round back (00 min 08 sec). The left eye sits on top of it (00 min 33 sec). The right eye is identical to the left one, and they both should be nice and smooth. Two dots inside of each (colored black and white respectively), and you’re done with this part of the how to draw A Chickadee Bird.
To cover the top of the head, use a half-circle as you see in the video (01 min 26 sec). The wing is a piece of cake: it looks a lot like an autumn leaf (01 min 58 sec). If you’re happy with everything so far, move back to the left side of the head and draw a long, curved half-circle that touches the bottom of the wing (02 min 21 sec).
Alright, that’s almost it for this how to draw A Chickadee Bird tutorial. All that’s left for us to do is to add the feet and the tail (02 min 46 sec). Each foot has four toes. For the tail, just use three straight lines – that’s it (03 min 07 sec). Finally, go over the guides with hard strokes (03 min 20 sec).
Before you learn how to draw A Chickadee Bird, did you know?
These funny-looking birds can only be found in North America. They are pretty tiny and can easily fit in a grown man’s hand. While most of the body is colored white, light brown, and partially grey, the top of the top and the neck are pitch-black. So, how did they get their name, you might ask?
It has everything to do with the sounds they make. Interesting fact: these guys are the official birds of two American states – Maine and Massachusetts. True, they aren’t particularly strong, and there are dozens of predators out there that hunt them on a daily basis. Still, the Chickadee live on and prosper!

