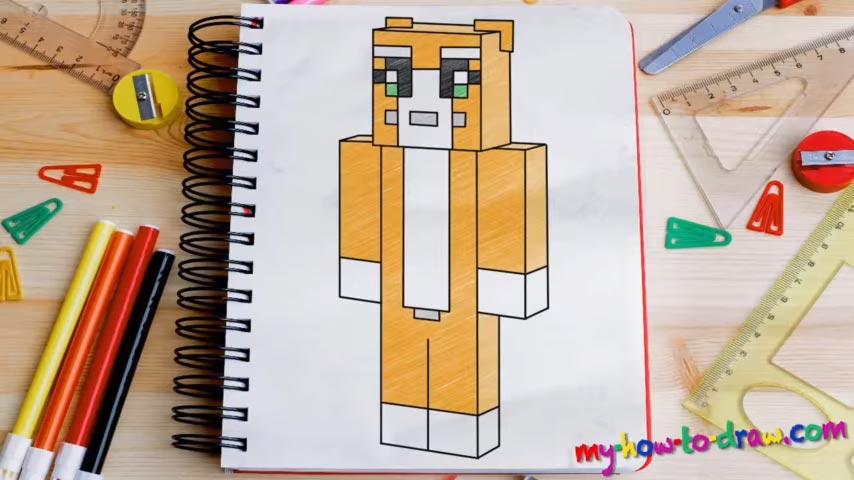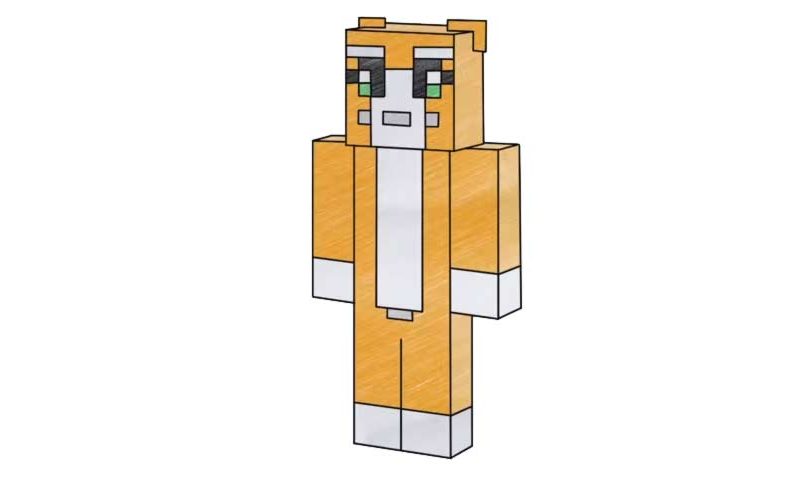
Learn How to draw Stampylongnose Minecraft Quickly & Easily!
This is one of those easy tutorials, the ones that you can handle even if drawing has never been your strongest suit. Believe it or not, the guiding lines are the most important step, and if you really want to learn how to draw Stampylongnose Minecraft, you’ll pay attention to the rough sketch (00 min 24 sec).
Yes, it is simple, but all the lines need to be of the right sizes and be positioned exactly like in the video. Basically, it looks like a LEGO robot, and that is why all the limbs are so simplified. Once the main shapes are in, move on and draw the facial features (01 min 37 sec). But before you switch to dark strokes, make sure to add the additional lines that make the body and the head look three-dimensional (01 min 55 sec).
The next step in this how to draw Stampylongnose Minecraft tutorial is the clean drawing. Grab your favorite pen/marker and start with the head (02 min 18 sec). Go over the 2D image before carefully turning it into a 3D model. Actually, it already looks good, but there’s still some work left to be done. Again, all you’ll have to do is go over the light strokes and make the lines smoother – that’s just about it.
The eyes are probably the most sophisticated part of the Stampylongnose Minecraft manual (04 min 45 sec). But, compared to the other videos from our collection, they are super easy. Once you put the mouth in and color the character, he’ll start to look exactly like the hero from the video game.
Before you learn how to draw Stampylongnose Minecraft, did you know?
This dude became famous thanks to his streaming videos on YouTube. He’s in love with this game and is sharing his experience with the public. The kids really love him and the guy has gazillion subscribers on social media. His channel has more followers than, say, Justin Bieber, and if you don’t know about this man and/or Minecraft, that means you’re already old :).