Learn How To Draw A Flying Dragon Quickly & Easily
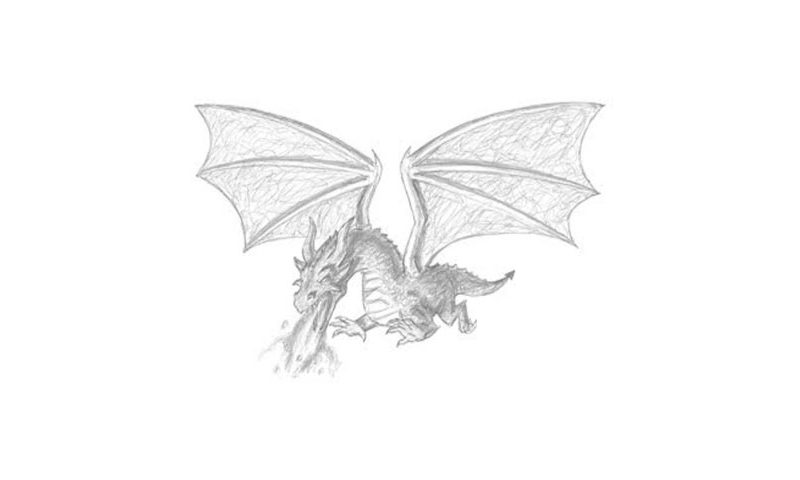
The guides for this drawing are a bit tricky: start with a small circle in the lower left corner (00 min 07 sec). Next, add two triangles facing down for the mouth (00 min 12 sec). The circle to the right is for the beast’s body (00 min 17 sec). The next step of this how to draw A Flying Dragon involves guides for the legs, the tail, and the huge wings (00 min 24 sec).
Don’t try to be accurate here. Switch to dark strokes when working on the dragon’s eye (00 min 42 sec). It’s pretty tiny but the sharp brow makes it look scary. The nostrils are just two simple shapes (00 min 47 sec). The teeth follow (00 min 53 sec). It’s got plenty both on the upper and the lower jaw. For the tongue, use a series of V-like lines as we did.
The spikes and horns follow in this how to draw A Flying Dragon tutorial (01 min 04 sec). For the legs to look realistic, just add the toes with claws – four for each (01 min 20 sec). The wings look like tree branches (01 min 37 sec). First, they resemble pirate hooks. Once you add two more bones to each wing, they’ll be complete (01 min 46 sec).
Before you learn how to draw A Flying Dragon, did you know?
Dragons have always been popular is mass culture, even though they’re mystical creatures. The European and Asian folklore is especially fond of them. Furthermore, in many American schools, you’ll find the image of a dragon in basketball, football, and volleyball teams, among other things. Yes, they are still very present in our culture.
And just when we thought that these mystical beings had too big roles in movies, series, and games, the Game Of Thrones phenomenon happened, and now literally every kid on the planet wants to own one. They are big, strong, loyal, and pretty much invincible. Who doesn’t want a friend like that, right?
