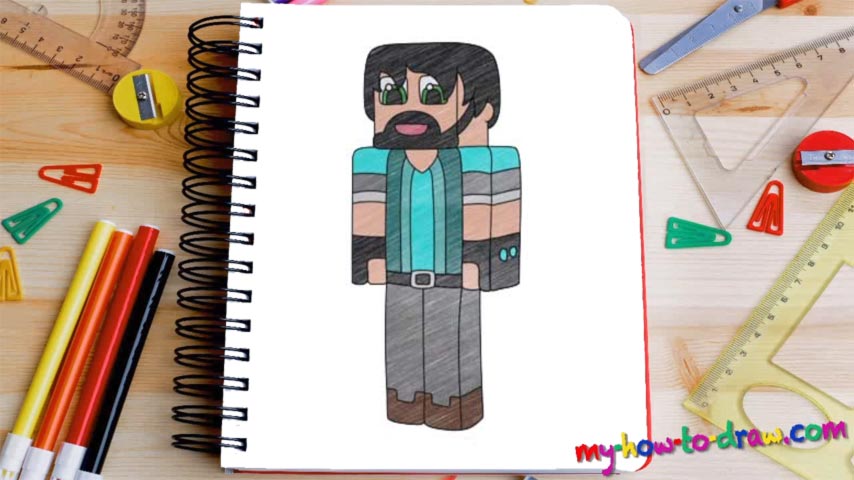
Learn How to draw Thinknoodles – Minecraft Quickly & Easily!
Given the fact that this is a character from Minecraft, it shouldn’t come to you as a surprise that the majority of the lines are straight and the shapes are square-like. We’ll start this how to dray Thinknoodles – Minecraft tutorial with the guidelines. Use light strokes and follow the instructions in the video (01 min 17 sec).
Everything is simple and intuitive; no need for us to break everything down for you at this point. The only recommendation: try to keep the proportions right but don’t spend too much time perfecting the lines. Remember – this is a rough sketch, the real thing hasn’t started yet. All good? Then let’s proceed and learn how to draw Thinknoodles – Minecraft.
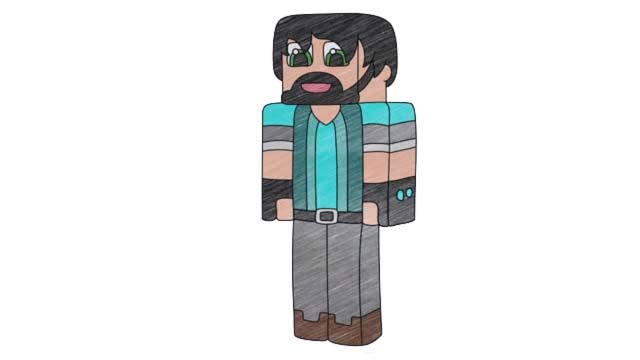
We recommend starting with that hairline because it’s a defining “attribute” in this drawing (03 min 04 sec). Use zigzaggy lines and complete the upper part of the head. The identical eyes come next (04 min 04 sec). They are pretty big and are covered by the hair at the very top. Next, move on to the beard and the mouth (04 min 55 sec).
Again, the lines and the shapes are very easy, and you won’t have any problems with getting everything right. Same goes for the body (05 min 31 sec). Don’t forget about the belt, though (05 min 59 sec). It’s probably the easiest part of our how to draw Thinknoodles – Minecraft tutorial, but it does look good.
After you’re done with the body, finish the drawing by taking care of the legs (07 min 23 sec). All you’ll need for this are four straight vertical shapes and a couple of horizontal ones for the bottom and the texture of the pants – that’s it!
Before you learn how to draw Thinknoodles – Minecraft, did you know?
If you’re not a big fan of interactive entertainment, this LEGO-like character might not be familiar to you. On the other hand, if video games are your passion, then you most certainly will recognize that this hero comes from Minecraft – an unbelievably popular game with a multi-million fan-base.