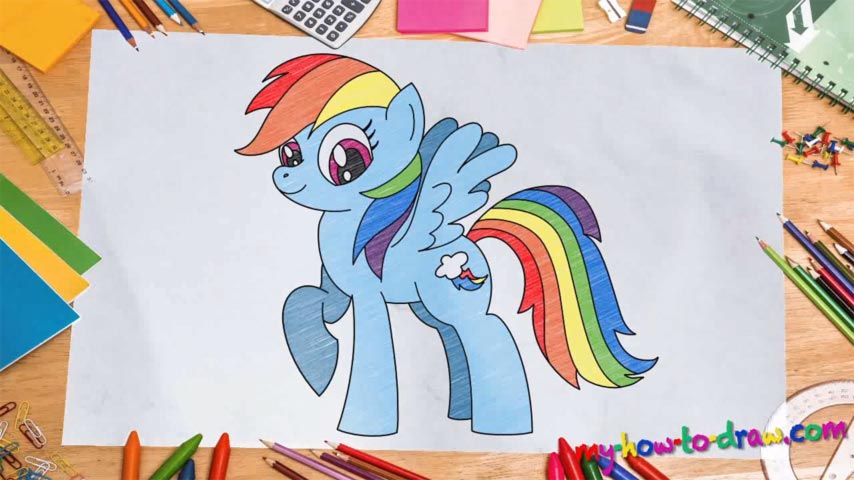
Learn How to draw Rainbow Dash Quickly & Easily!
If you want your drawing to look exactly like mine, you’ll have to make sure you keep the “measurements” right. The best (and only) way to do that is to create a series of guiding lines and curves. That’s the foundation of the how to draw Rainbow Dash tutorial. Start at the very top – with the circle (01 min 16 sec). The tiny circle that overlaps with it is the nose.
The oval shapes right below that big circle will be of great help later on when you get to the body (01 min 54 sec). The rest is just six curvy shapes that represent the legs, the wing, and the tail. If you’re done with all that, arm yourself with darker strokes and/or a marker and let’s learn how to draw Rainbow Dash. We recommend starting with the ear and the hair on her head (02 min 52 sec).
The nose comes next (03 min 29 sec). It’s a pretty primitive shape. The left eye that sits right above is also nice and simple. The right one, however, is much bigger (04 min 16 sec). Follow the video closely and make sure you get its size right. Once you’re happy with the head, finish the hair and gradually move to the wing (05 min 17 sec). The next step is the legs (06 min 43 sec).
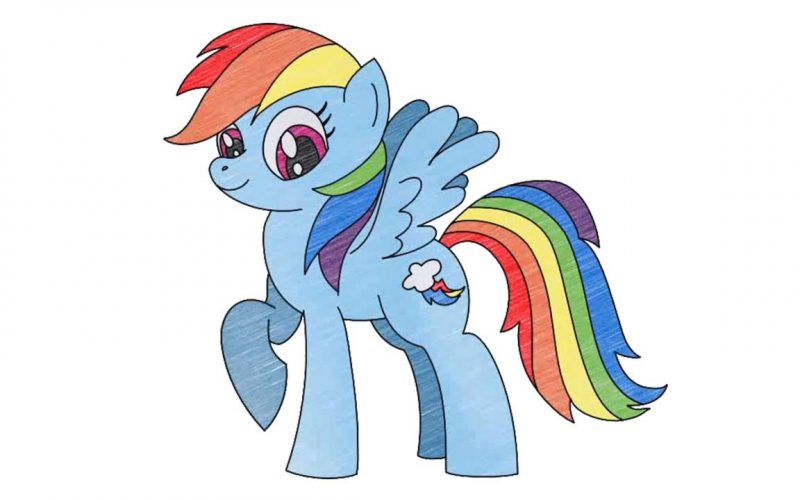
This is the easiest part of the how to draw Rainbow Dash tutorial. Just make sure the curve on the front leg looks good (07 min 43 sec). The tail is the final stage (08 min 07 sec). “Hug” the guideline from both sides and use curvy lines to make the tail more realistic.
Before you learn how to draw Rainbow Dash, did you know?
This beautiful pony is the prettiest little thing. She’s fast, agile, and is in love with the outside world. She’s in charge of the weather and takes care of the sky. Plus, Dash has a pet turtle, a strong attitude and the best (and most magical) friends in the entire Universe!