Learn How To Draw The Three Wise Men Quickly
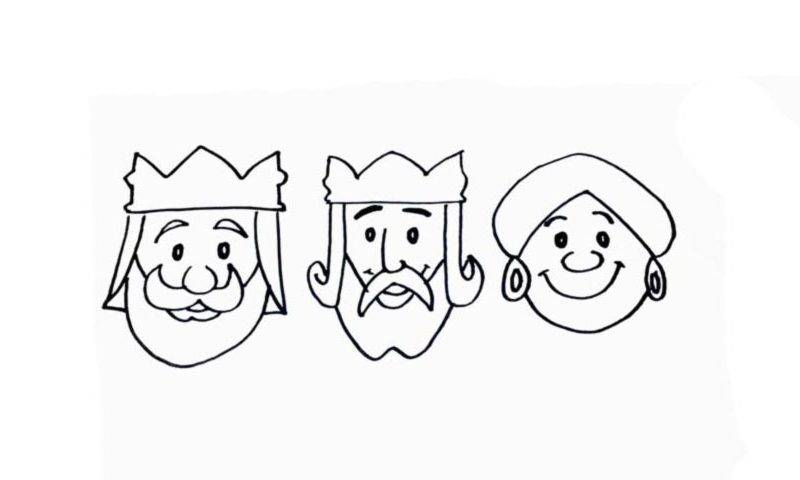
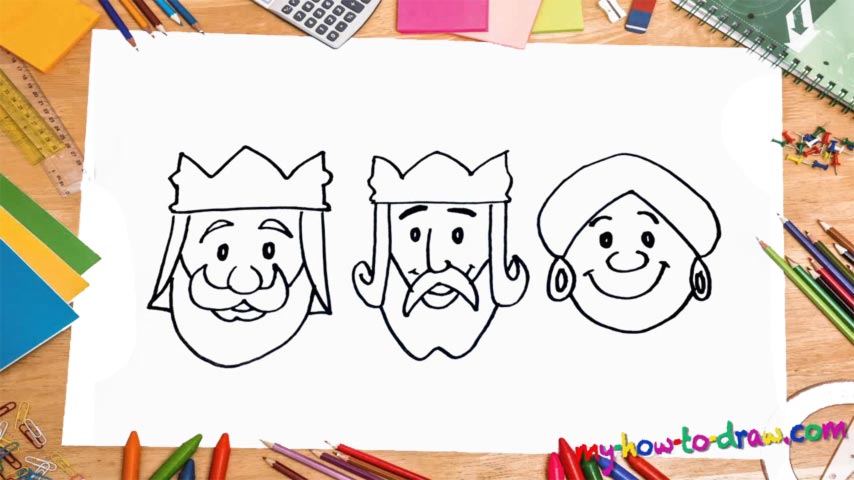
We have not one, but three portraits in this tutorial. Yet, to be fair, the first two look very much alike; so, we’ll be just fine and learn how to draw the Three Wise Men in no time! The man on the left comes first (00 min 06 sec). Take care of the gorgeous crown first and only then move on to the head. Use a nice round curve to shape the face of the king.
Next, put the facial features in (00 min 40 sec). The nose comes first; take care of the eyes, the brows, and that mighty mustache at the bottom once you’re done with the basics. Ok, we’ve completed the first wise man! Now let’s move on to the one in the middle that looks quite similar (01 min 18 sec). Again, the crown should be the first thing you add. It’s a bit tinier than the first crown; the rest is the same.
This man looks more “classy” with that hair (01 min 31 sec). His facial features are the next step in this how to draw the Three Wise Men tutorial (01 min 46 sec). The mustache is smaller compared to the other man, but the beard is better. The last guy is relatively easier (02 min 30 sec). His hat is simple, and he doesn’t even have a beard.
Before you learn how to draw The Three Wise Men, did you know?
Also known as the Three Kings, these men are featured in the Holy Bible. After Jesus Christ came to this earth, they went on a journey to look for the new-born. Unfortunately, the books can’t tell us where they traveled from, but it definitely was in the Middle East.
It was them that followed the starts in the sky and found their way to the Savior. In many cultures, the Three Wise Men are strongly associated with Christmas and the wonders that it brings every single year. Even if you don’t believe in magic, you might believe in this story!
Learn HOW TO DRAW WADDLES from Gravity Falls in less than 5 minutes! In this step-by-step video lesson, you will learn how to draw it QUICKLY and EASY