Learn How To Draw A Tortoise Or Turtle Quickly
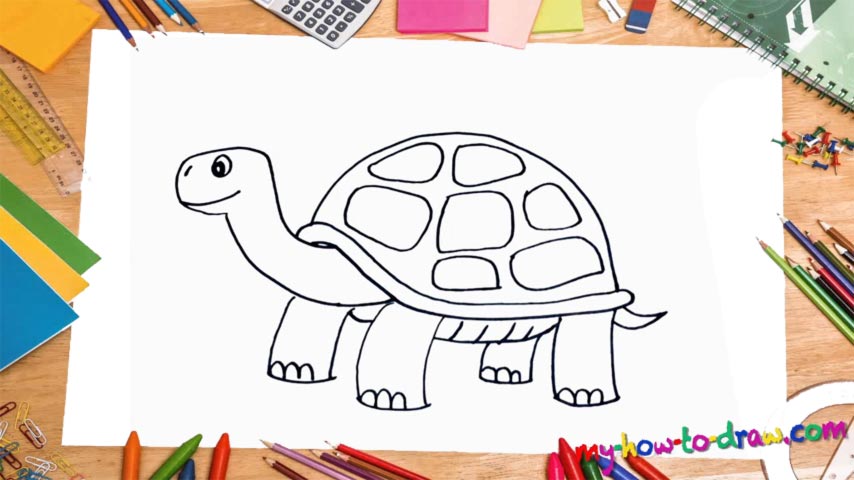
The head comes first in this tutorial (00 min 06 sec). Shape the neck next and only then get to the facial features. You’ll need two basic lines for the nose and the mouth; the eye is just a tiny circle that’s partially colored black (00 min 16 sec). And now that we’re done with the head, let’s proceed with this how to draw a Tortoise Or Turtle video guide. The shell/shield is pretty huge.
Thankfully, it’s not technically hard (00 min 30 sec). Just be careful with the curves and don’t mess anything up. You’ve got a nice arc to form the shell and a much thinner foundation at the bottom. The turtle has four legs (obviously), and they’re all equal in size (00 min 47 sec). However, because of the angle, the one in the back looks much smaller than the ones in the front (01 min 16 sec).
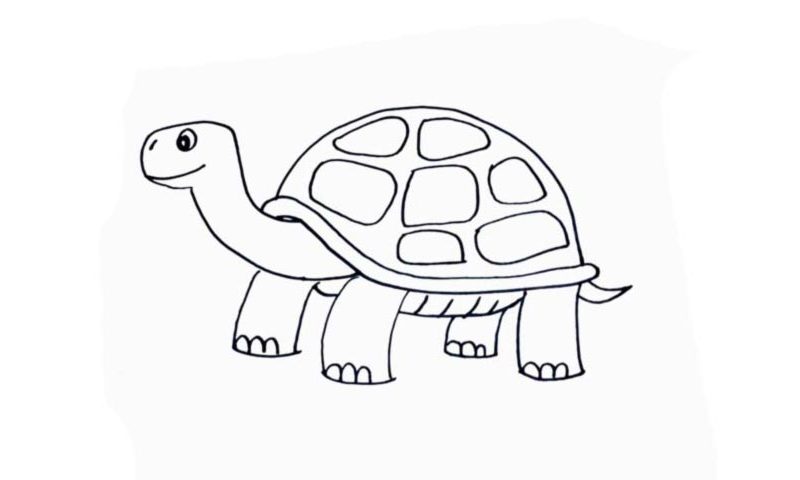
The last step in this how to draw a Tortoise Or Turtle tutorial is the texture of the shell (01 min 30 sec). You’ll need 7 rectangles in total. Don’t try to match the pattern with my drawing – just go with whatever comes to mind. They should be slightly different in shape and size, of course. Now, that wasn’t so hard after all, was it?
Before you learn how to draw A Tortoise Or Turtle, did you know?
Many people think that the terms “tortoise” and “turtle” are meant to represent different breeds or even species. However, that’s not really true: it’s just that some people use different words/terms to describe these thrilling creatures. So, go with whatever you like most.
Turtles have a strong shell that the predators can’t break through. It’s their home and shelter from all the dangers of the outside world. A turtle can be as tiny as 2-3 cm and as big as 2 meters. Some scientists claim that they are the longest-living land creatures on planet Earth.