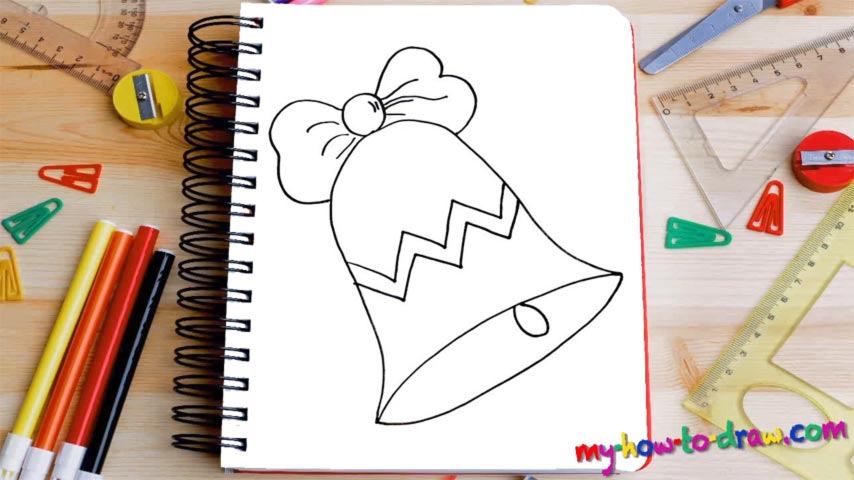
Learn How To Draw A Christmas Bell Quickly
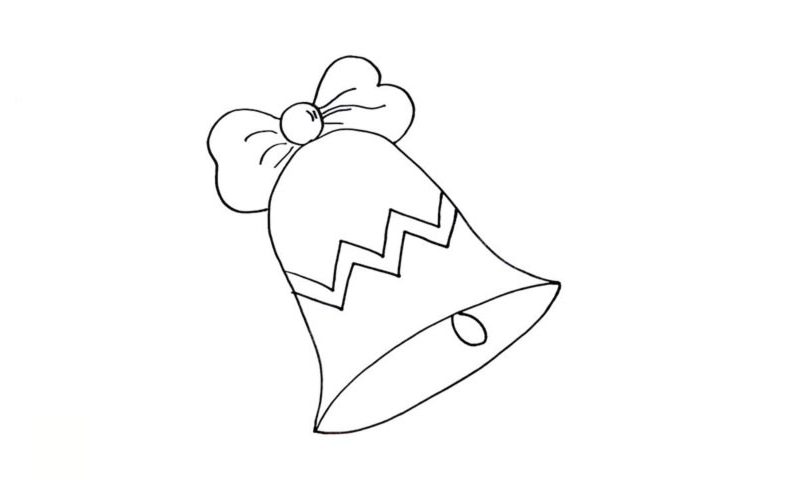
This is a classic bell and doesn’t come with any complex features. The texture is simple, which means you’ll be able to handle it even if this is the second time you’re holding a pencil in your hands. Start this how to draw a Christmas Bell tutorial at the very bottom (00 min 07 sec). You’ll need two identical (but opposite to each other) curves that look a bit like a question mark.
Once they’re in place, you’ll have the main body of the bell on the paper. Connect them (the curves) to one other with two simple horizontal lines to create a three-dimensional image (00 min 19 sec). See how easy that was? Now go ahead and add the clapper (00 min 27 sec). Happy with it? Great, then it’s time to take care of the “bow” on top of it all (00 min 36 sec). Put the circle in first and only then move on to the sides.
This is the next step in this how to draw a Christmas Bell tutorial. And, it’s also quite easy. The last thing to do is create that zigzag-like pattern in the middle of the bell (01 min 04 sec). You can do without it; but with it, the overall composition will look much better. True, this is a very basic drawing and won’t impress the experienced artists. Yet, for us, the beginners, it’s just what the doctor ordered!
Before you learn how to draw A Christmas Bell, did you know?
Without a doubt, Christmas is one of the greatest holidays in history. People from all over the world celebrate it with their loved ones and enjoy the wonderful atmosphere. As for this lovely bell, it’s something of a trademark – you can’t have a proper celebration without it.
We use it to decorate the Christmas tree, the main doors to our homes, and for all kinds of other things. The bells are quite cheap and you can get a bunch of these ornaments for a couple of dollars. Or, if you’ve got the skills, go ahead and make some of your own, unique bells to surprise the friends and the family.