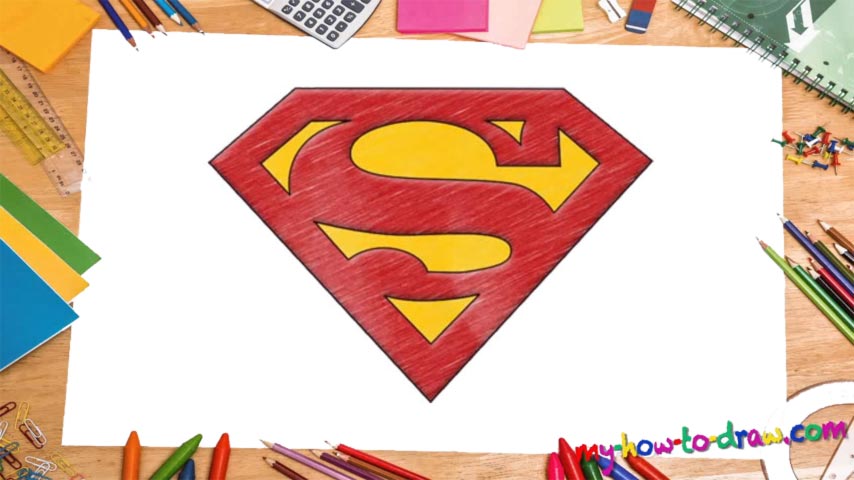
Learn How to draw The Superman Logo Quickly & Easily!
A member of the Justice League and a fighter against evil, Clark is a role model for millions of fans around the world. As for the cool logo on his chest, it’s one of the most recognizable “stickers” in the comic-book universe. In this post, we’ll learn how to draw The Superman Logo quickly and have some fun along the way.
Now, even though this is a relatively easy drawing and won’t require pro-level skills to complete, you’ll still need some, let’s say, pointers to help you throughout the process. So, start drawing the so-called rough sketch at the top of the paper (03 min 37 sec). When you’re finished with the outer borders and the dividing lines, move on to the inner borders (01 min 09 sec). The “S” comes next (01 min 32 sec).
This is the final stage in the introduction to the how to draw The Superman Logo tutorial. You could think that we’re done, but we’re only beginning. Arm yourself with a marker and start putting those smooth lines in (02 min 20 sec). Go over the outer border but make sure the lines are as accurate as possible. If you’re happy with that, move on to the “S” in the middle (02 min 51 sec).
It might be a bit tricky at first, but if you follow the video, you’ll be alright. Once you take care of the inner border, the how to draw The Superman Logo guide will be complete. Before you use red and yellow to color the drawing, don’t forget to get rid of the light pencil strokes (04 min 05 sec). And try to experiment with the colors – might find a cool combo.
Before you learn how to draw The Superman Logo, did you know?
He is one of the strongest beings in the galaxy. Fast, agile, and with a loving heart, Superman is ready to fight every single villain out there to protect the innocents. And his logo is a symbol of hope and of heroism. It inspires folks to be better and warms their hearts.

