Learn How to draw Jerry Quickly & Easily!
It’s extremely hard to keep the proportions and sizes right without a proper rough sketch. The purpose of it is to create some basic guidelines that we’ll base our clean marker drawing on. For the sketch, use a pencil. Start with the huge circle in the middle of the paper (00 min 39 sec). This is the intro to our how to draw Jerry tutorial.
Next, move on to the curves that represent his face. That big half-a-circle in the back of the drawing is the mouse’s ear (01 min 18 sec). Same goes for the peaky curve on top of its head. Alright, now that we’re all done with setting up the foundation for this composition, let’s learn how to draw Jerry.
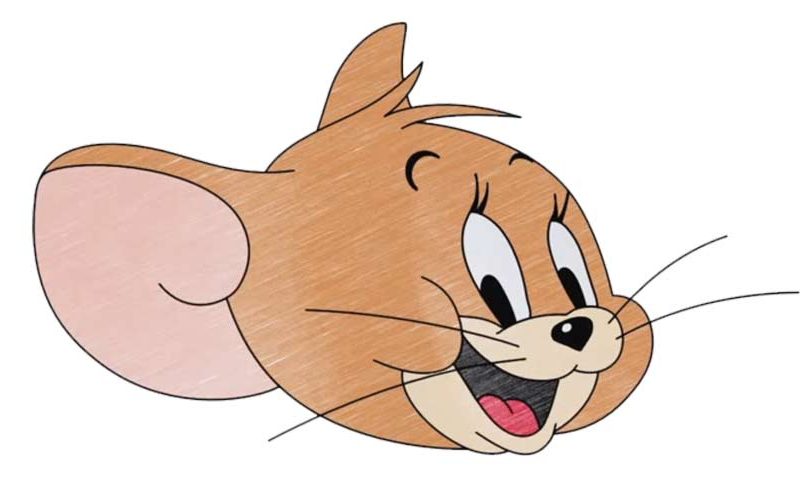
We begin with the face (01 min 53 sec). The nose looks like a tiny heart colored in black (02 min 04 sec). Once you’re finished with that, take care of the hero’s eyes (02 min 13 sec). Both the left and the right one look identical, even though the left eye is bigger because of the angle of the drawing. The eyebrows look like half-moons (03 min 01 sec).
The next stage of our how to draw Jerry tutorial includes the cheek and the mouth (03 min 21 sec). The cheek is just a curvy line. The mouth is also a combination of smooth curves. You’ll need to make them perfect; otherwise, Jerry will lose his charm. The head is easy (04 min 01 sec). All you’ll have to do is follow the guidelines and add a bit of hair on top.
Same is true for the ears (04 min 21 sec). Again, use extremely curvy lines to accentuate the fact that our character comes from a cartoon. Finally, add those cute (and long) whiskers and clean the light pencil strokes (04 min 48 sec).
Before you learn how to draw Jerry, did you know?
Tom and his elusive friend, Jerry, have been entertaining us for many decades. That witty little mouse always finds a way to escape the cat’s claws, and their adventures together are fun, exciting, and full of wonderful ideas. Jerry is a hero from our childhood, a true icon.
