Learn How To Draw The Sun Quickly
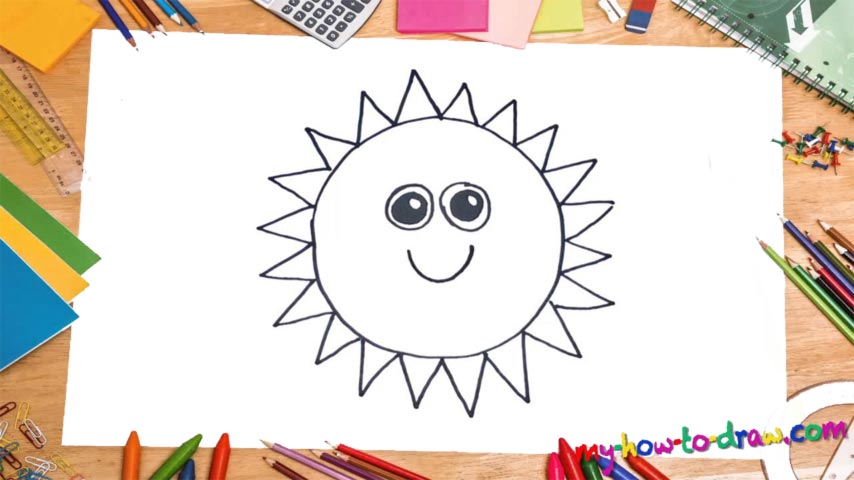
Obviously, the easiest and most logical way to start this tutorial is by adding the big circle in the middle first (00 min 07 sec). This is the intro to the how to draw the Sun tutorial. The circle should be nice and round, without any rough parts. The “spikes” all over it are the next step (00 in 18 sec). Try to make them nice and sharp as opposed to bleak and sad.
In the real world, we rarely get a chance to see them, but for a children’s drawing, they are perfect. These rays should be equal in size, but mild differences are very welcome, as they will make the final result much more realistic. If you’re happy with what you’ve got on the paper so far, go ahead and move on to the next step in this how to draw the Sun tutorial.
The facial features include the eyes and the mouth (01 min 10 sec). Wait, does the Sun truly have all that? Of course not. But, again, this is a fun video guide! The eyes should be nice and big. Put them very close to each other. You’ll need three circles for each: a white pupil, a big black circle around it, and an even bigger one on top. The mouth is just one simple curve (01 min 37 sec).
Before you learn how to draw The Sun, did you know?
It’s safe to say that without this star, life on Earth would’ve simply never been possible. It’s located right in the center of the Solar System and provides just the right amount of energy for every single planet. It’s the biggest cosmic body in the System and has a mass that is 330K times that of our home planet.
Many ancient cultures considered the Sun to be some sort of a god and worshipped it every single day by sacrificing innocent people at the altars. Today, in the technological age, we appreciate it as the source of warmth, light, and life itself. It’s been around for about 4 billion years and will stick around in its current form for another 5.