Learn How To Draw A Chair Quickly
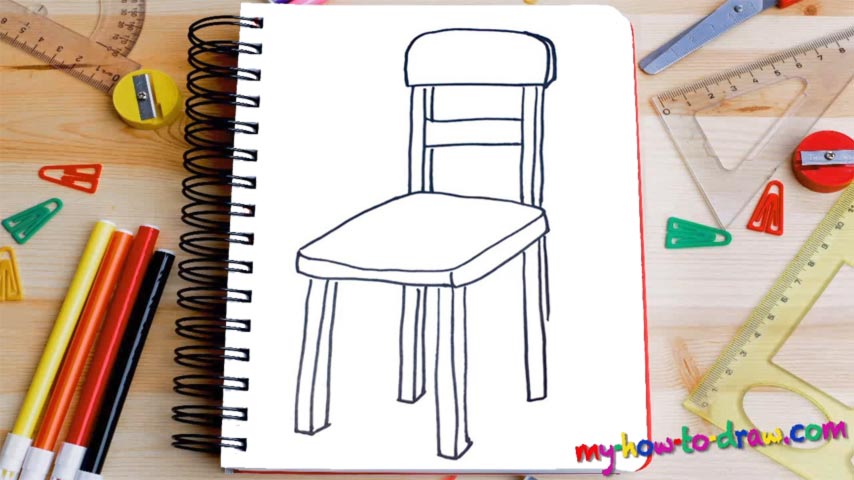
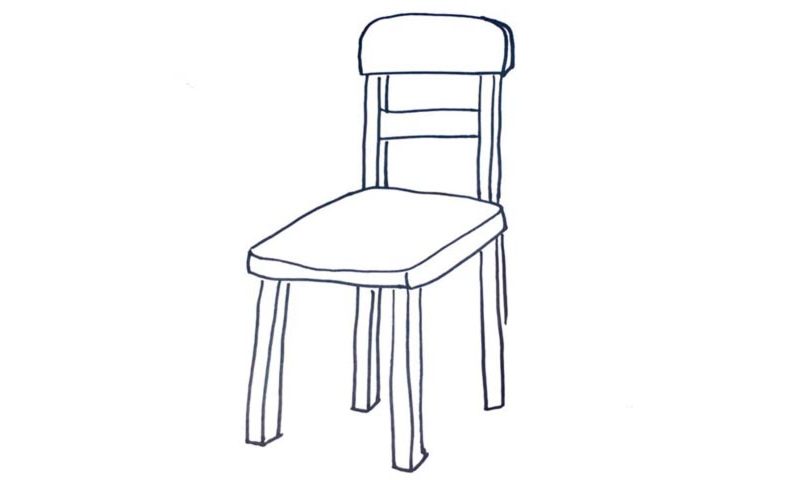
The back of the chair comes first in this tutorial (00 min 07 sec). It looks like the rear mirror in the modern-day cars. The next step in this how to draw a Chair video guide consists of three simple “lines” made of wood (00 min 27 sec). There’s nothing hard about them: just follow my guide and make sure you’ve got the proportions “on lock” so that everything looks realistic.
Ok, the back is pretty much done. Now it’s time to take care of the seat (00 min 54 sec). It’s quite large and takes up a lot of space. It’s important to get the size right, just like in the case of the back. This is a three-dimensional drawing, and that’s exactly why we’ll need to add those lines on the right side and in the bottom of the seat (01 min 05 sec).
The legs are the final stage of this how to draw a Chair tutorial (01 min 18 sec). They all look the same, which means you won’t have to worry about introducing unique details to make them stand out. At the same time, because of the angle, the ones in the back look smaller (or, rather, shorter), even though they aren’t.
Before you learn how to draw A Chair, did you know?
This particular chair that you see in our video guide is pretty standard, not to say classic. It doesn’t come with any fancy details; at the same time, it’s pretty solid and will serve you for many years. Usually, we use these kinds of chairs in the kitchen and have at least four of them.
Some designs come with three legs and unique shapes to catch the eyes of the potential buyers. They are made of wood and plastic (those are the most popular materials). As for the cover, there are more than a dozen fabrics available to us today. Add a pair of arms, and you’ll get an armchair. Raise it up a bit, and you’ll get a bar stool!