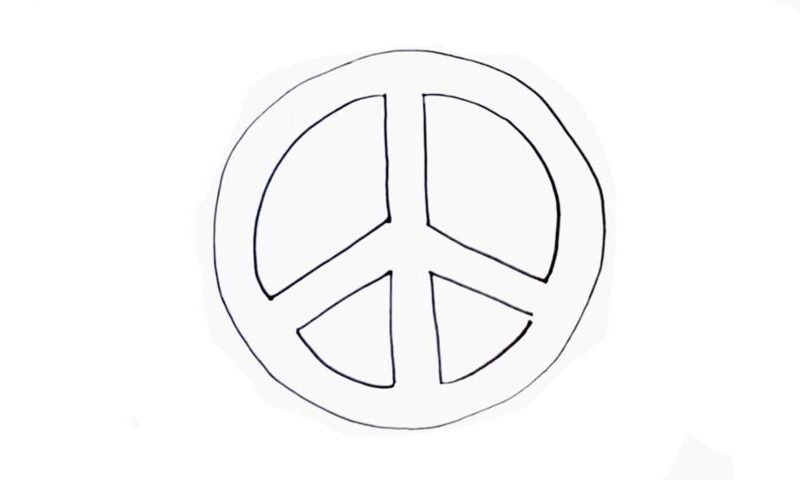
Learn How To Draw The Peace Symbol Quickly
The circle sitting in the middle of the paper is the most important part of the lesson (00 min 13 sec). Make sure it’s nice and round to go hand in hand with the message that the symbol carries. If you’re happy with the intro to the how to draw The Peace Symbol tutorial, move on to the “plane” in the center of it (00 min 30 sec).
That image does look a lot like a plane without the front and rear parts, doesn’t it? You’ll need straight vertical and horizontal lines for it, and since the left and right sides are identical to each other, it won’t be a problem to pull this off. Alright, the last thing on the menu is the circle around the lines (00 min 50 sec).
It’s not a circle per se and simply creates four shapes by connecting the lines to each other with curves. Once they are in place, you will be officially done with the how to draw the Peace Symbol tutorial. If you want, go ahead and color the various parts of it to make everything look even better.
Before you learn how to draw The Peace Symbol, did you know?
Do you know when was the first time people started to use this now-legendary symbol? It was the England-based NDM (Nuclear Disarmament Movement) that introduced it to the world in 1958. Before that, similar peace symbols were used throughout history. The olive branch, along with the dove, has been the sign of peace for centuries – the Christians made them popular.
The peace flag and the V-like hand signal are also widely used today, especially by the rock-n-roll and rap music stars. The message behind this thing is equally simple and complex: in order to prosper, our kind needs to stop the meaningless wars and start to live, well, in peace. Respecting each other and seeing things from the point of view of others is the first step towards a bright, happy future.

