Learn How To Draw An Angry Emoji Quickly
Are you looking for an incredibly simple and straightforward video lesson that will help you create something fun and meaningful in less than 2 minutes? If the answer is yes, then our how to draw An Angry Emoji tutorial is exactly what you need! It’s super-easy and won’t require any pro drawing skills. The circle for the fella’s head is the first thing on the menu (00 min 05 sec).
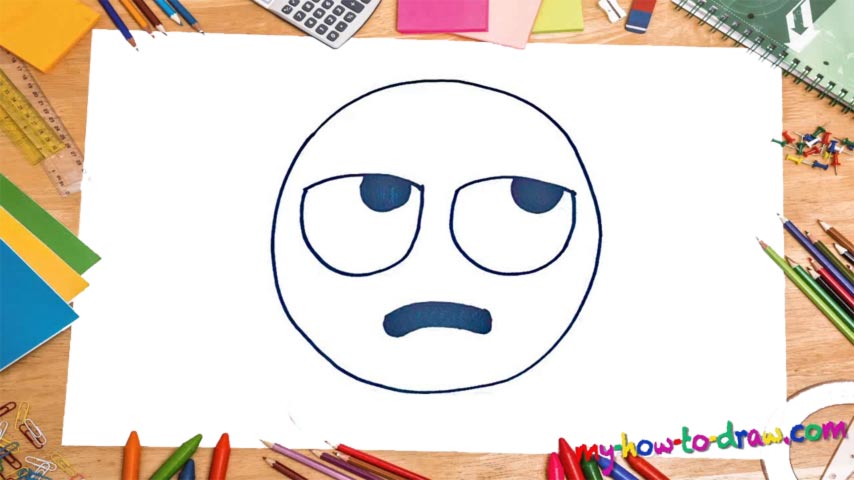
It needs to be round and smooth, so, you might want to focus all of your attention on making sure it isn’t zigzag-like or anything like that. Once it’s in place, move on to the big, expressive eyes (00 min 12 sec). They are identical to each other and are looking to the right (their left). You’ll need a shield-like shape with a black spot in the upper corner for each.
The mouth sitting in the lower corner is the final step in this how to draw An Angry Emoji tutorial (00 min 46 sec). It is very important for the mouth to be nice and thick to go well with the pupils. It looks like a mustache, actually, which makes it a Mexican Emoji, I guess.
Before you learn how to draw An Angry Emoji, did you know?
If you’ve got a phone, tablet, or any other modern-day gadget, then you definitely know what Emojis are. Basically, they’re just funny faces that we use in our virtual messages to “spice them up” a bit. They are available both on mobile devices and on desktop PCs. The very first Emojis used to mimic the various expressions of the human face, but today, we’ve got all kinds of stuff.
This particular tutorial deals with an Angry Emoji, one that you can use to instantly let the receiver of the message know that messing around is not really the best course of action right now. Emojis were introduced fairly recently, but they are already incredibly popular, thanks to user-friendliness and the capacity to tell more than heaps of text can ever say.