Learn How To Draw Little Red Riding Hood Quickly
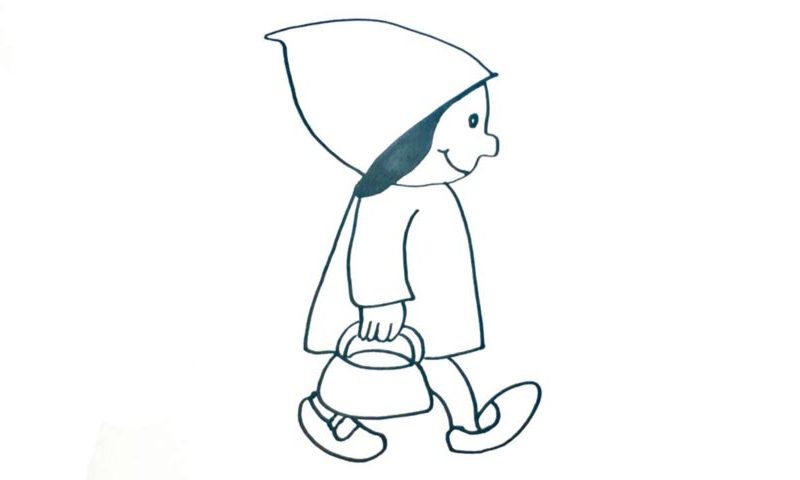
The girl’s trademark hat comes first in this video (00 min 14 sec). It looks like a dome and is tilted to the left. We can only see a tiny part of the head under that hat (00 min 23 sec). The eye, the nose, and the mouth are the easiest parts of our how to draw Little Red Riding Hood tutorial. See that black shape between the face and the hat (00 min 36 sec)? That’s her hair.
This is it for the upper half of the drawing. Now we get to the lower half. The coat, or, rather, the hood, is very simple (01 min 03 sec). You’ll need straight lines for it. The girl’s only visible hand is located right below the hair (01 min 09 sec). She’s holding a basket in her hand (yep, full of pancakes), but it looks more like a designer bag or even a kettle (01 min 18 sec).
Alright, we’re almost there, dear friends! All we have to do to complete this how to draw Little Red Riding Hood tutorial is work on the feet (01 min 33 sec). The girl has some pretty cute shoes on.
Before you learn how to draw Little Red Riding Hood, did you know?
Hands down, this is one of the most popular characters from the fairytales. She’s just a little girl with a “mission” to take the pancakes to her grandma. However, she meets a big, bad, scary wolf, and that’s when everything goes south. This story has been around for 10 centuries, and different writers tell it differently, adapting it to their time.
Now, when the poor girl arrives at her grandma’s house in the middle of the woods to deliver the food/wine/whatever, she finds out that the old lady isn’t really a lady but rather a beast that wants to eat her alive. Eventually, it does swallow her, but a hunter cuts her out and saves both the girl and the grandma. Yes, it’s still a mystery how the censors let the kids read such a horrifying story!
