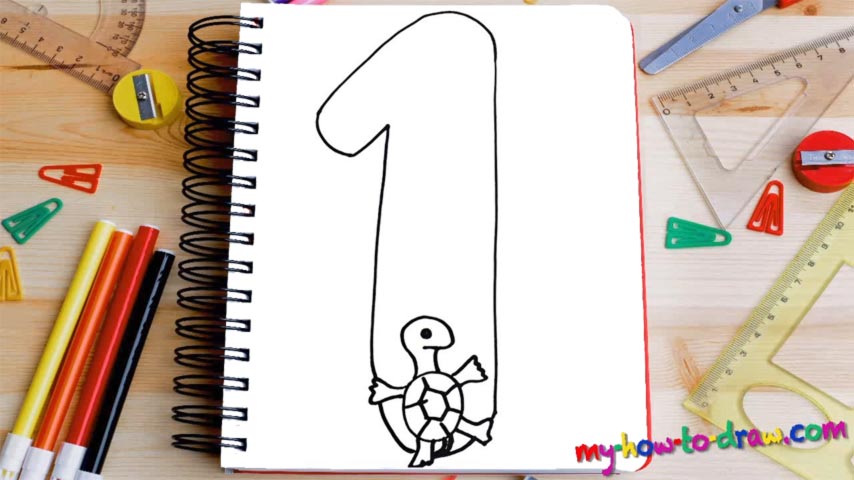
Learn How To Draw The Number 1 Quickly
Let us begin with a super-long vertical line that sits in the right corner (00 min 08 sec). Once it’s in place, add a curve on top of it to cover the upper half of the how to draw The Number 1 tutorial (00 min 15 sec). Don’t forget about that twist at the end – it’s very important. If you are happy with it, create another straight vertical line (00 min 25 sec).
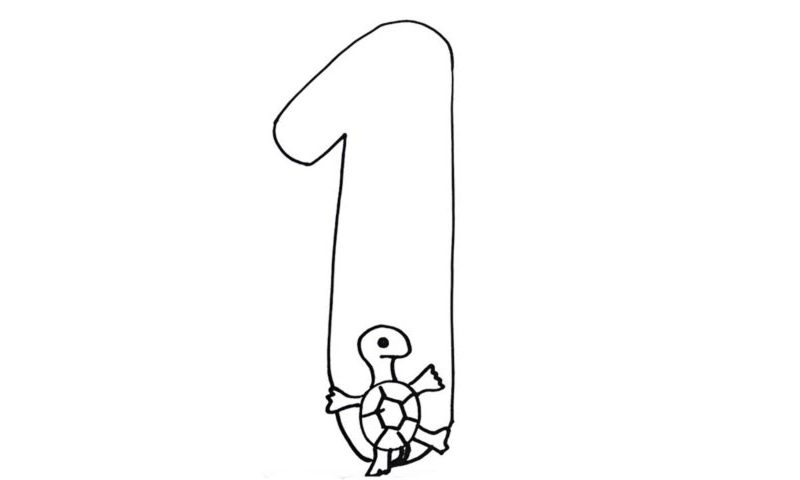
Ok, the number is there. We could very well finish this video guide right here and now, but we still have a turtle to draw. That’s right – move to the bottom of the paper and let us take care of the funny guy that doesn’t want to let go of the “1.” The shell comes first (00 min 33 sec). The funny head with a tiny dot for an eye follows.
The turtle has two legs, two hands, and even a tail (00 min 46 sec). They are incredibly primitive, but still look good. To complete this how to draw The Number 1 tutorial, go ahead and add the trademark pattern on the shell that resembles the sun (01 min 06 sec).
Before you learn how to draw The Number 1, did you know?
We all want to be the best at what we do, right? That’s totally normal for us, the humans – it’s in our nature. In sports, every single player strives to be #1. Same goes for politicians, gamers, movie stars, and even the most regular workers. That’s the driving force behind our kind’s incredible achievements; without it, we might still be living in a cave.
According to statistics, this is one of the most popular digits in the world. Again, we love to use it to describe our goals and dreams. And, even though there are hundreds of different languages in the world, we all use (or, at least, understand) the same numbers, and that allows the various nations to come together. The ancient Roman numerals are still around, by the way.