Learn How To Draw The Number 0 Quickly
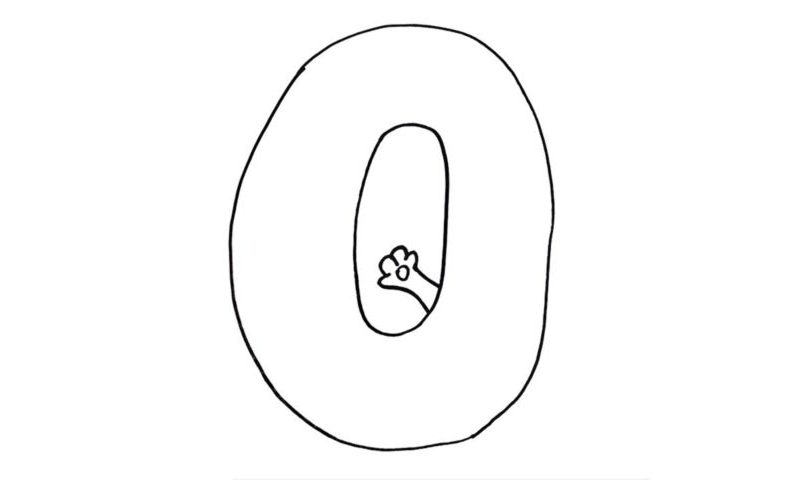
Without a doubt, this is one of the easiest video guides on our website. Actually, it is THE most user-friendly, simple, yet satisfying lesson. All you’ll need to do to complete this how to draw The Number 0 tutorial is create two oval shapes in the middle of the paper and add a 4-finger hand inside of the zero – that’s it!
As a great exercise to up your drawing game, this thing right here is perfect. So, start with the outer side of our number, taking up almost all of the space on the paper (00 min 08 sec). It should look like an egg or a watermelon, not a perfect circle. The inner side is a bit more “tight” and resembles a regular melon (00 min 23 sec).
This is it for the how to draw the Number 0 tutorial. But if you want to see it through, go ahead and work on the hand I mentioned earlier (00 min 36 sec). Don’t forget about the tiny circle in the middle, right below the fingers. The end result looks pretty cute, doesn’t it?
Before you learn how to draw The Number 0, did you know?
The modern-day society is used to thinking that zero is always bad. But that wasn’t always the case. This number has a strong presence in the cultures of many ancient civilizations, most of which didn’t make it to our time. Furthermore, in mathematics, 0 has a key role, and without it, most formulas would simply be impossible to “crack.”
In pre-Islamic Arabic, “sifr” means empty. When this word was used to translate a complex Indian word, it started to mean zero. According to the historians, in English, zero was first used back in 1598. So, as you can see, there’s a lot more to this number than just a digit. We are used to saying “nothing”, “nil”, “nada”, and “zip”, but the slang words will go away, while zero is here to stay.
