Learn How To Draw My Little Pony Quickly
Begin with a curvy shape in the left corner that covers the nose and some of the face (00 min 07 sec). The left eye sits right on top of the nose (00 min 14 sec). Now, this is a “girl pony”, which means a series of eye-lashes is a must (00 min 28 sec). The other eye is the next step in this how to draw My Little Pony tutorial.
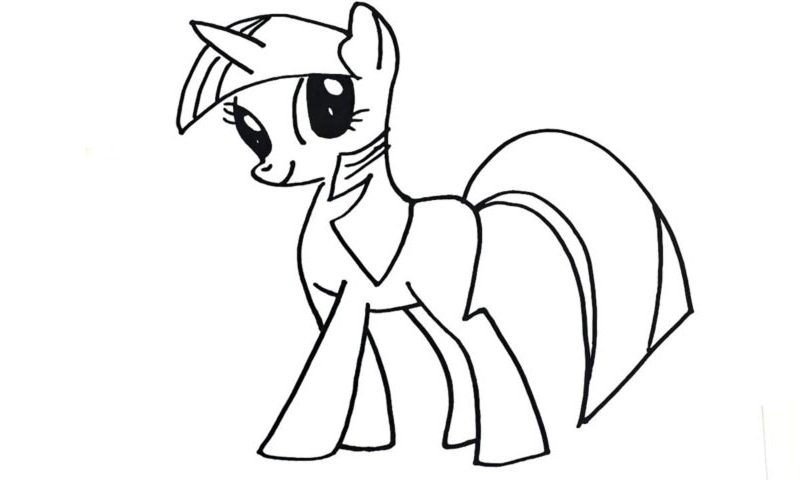
A big oval shape colored black with two white spots and eyelashes at the bottom – that’s all you’ll need for it. The fancy haircut follows (01 min 25 sec). But make sure to add the horn first. The one and only ear sis in the right corner (01 min 40 sec). The stripes that cover its neck make the pony looks pretty cool (01 min 50 sec).
If you are happy with those, move on to the final stage in this how to draw My Little Pony guide – the body (02 min 00 sec). The legs should be nice and long. There are no toes/nails on any of them, which makes our job easier. The gorgeous tail is the final step (02 min 34 sec). Ok, that’s it for today!
Before you learn how to draw My Little Pony, did you know?
Originally, Hasbro created MLP as a toy line for little girls. The very first toys were introduced in 1981. Since then, the brand has grown into a mighty franchise. The bodies and the manes of these ponies are of the highest quality. And, even though their appearance has changed multiple times over the years, the initial concept is still there.
Get this: in the 80s, 150 million toys were sold worldwide, making My Little Pony one of the most commercially successful projects in history. In the 90s, Hasbro let go of the franchise. Later, in 2003, they brought it back and sold 100 million toys by 2010. The animated movie featuring all the famous ponies that came out recently became a huge hit.
