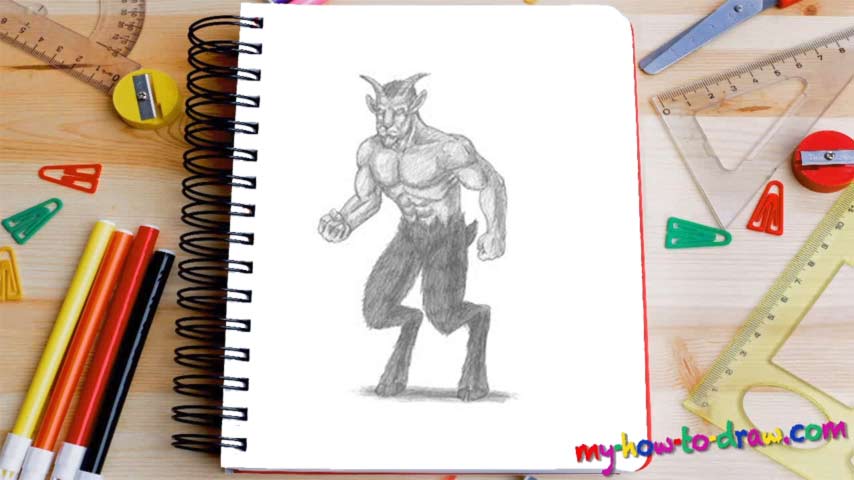
Learn How To Draw A Faun Quickly & Easily
As always, the head comes first (00 min 07 sec). You’ll need a relatively small circle and a half-oval right below it for the intro to the how to draw A Faun tutorial. The ears and the horns follow (00 min 16 sec). Guiding blocks for the body make it look a bit like an anime robot (00 min 20 sec). Follow my example but don’t try to be 100% accurate with the lines.
If everything’s looking nice and smooth, move on to the eyes (00 min 45 sec). They are pretty tiny, but that makes the beast look quite dangerous. The nose, in contrast, is big (00 min 55 sec). Use it to connect the eyes to each other. The mouth is simple and consists of two basic horizontal waves (01 min 00 sec). The horns and the ears are also easy; the same goes for the rest of the head.
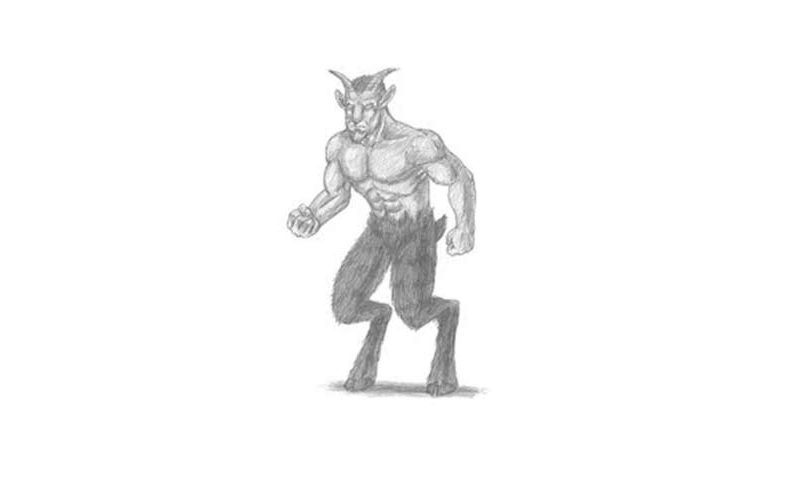
The body, the final part of the how to draw A Faun tutorial, is where the fun begins (01 min 20 sec). Start with the chest. The abdominal muscles are made up of a number of similar lines (01 min 27 sec). Watch the video closely to shape the hands/legs and to get rid of the guiding lines. If you want, go ahead and color it (02 min 14 sec).
Before you learn how to draw A Faun, did you know?
The Faun comes from Ancient Greek Mythology and is, basically, a half-human, half-goat creature. This beast has with the legs and tail of a regular goat, while the torso, the hands, and the head are that of a human male. Sometimes, he also has super-sharp ears and horns, like a goat.
According to the Romans, Fauns can be found in the forests. There, they put fear inside the hearts of stranded men. However, they’re not all bad: some of them are known to help humans in need. So, there you have it – a mythological creature with a scary appearance but a noble attitude.