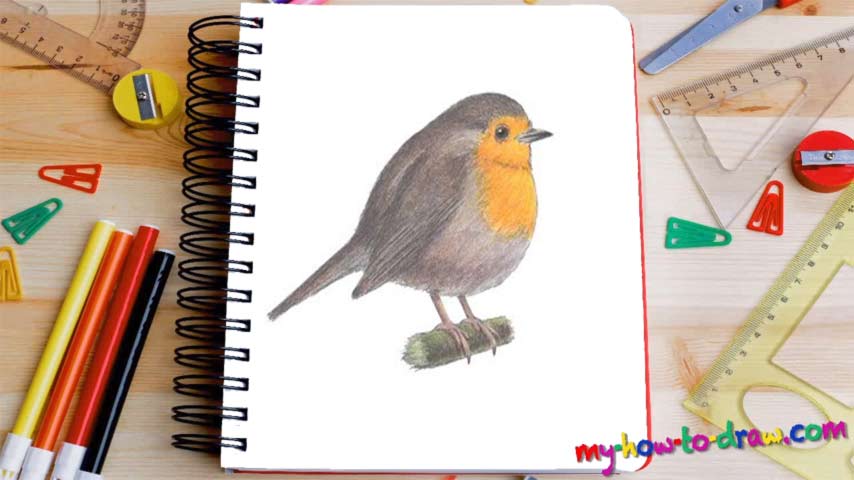
Learn How To Draw A European Robin Quickly & Easily
We start by drawing a huge circle in the right corner of the paper (00 min 07 sec). It should be nice and round. The next step of this how to draw A European Robin tutorial includes two triangle-like shapes for the head and the beak. Then, mark the tail and the legs with a couple of primitive lines (00 min 14 sec). The eye is the first thing we’ll take care of next (00 min 20 sec).
Color it black and leave a tiny white spot in the middle. The cute wing sitting in the middle of the circle we created earlier should be nice and smooth (00 min 33 sec). Again, just use some basic lines to put it there – don’t try to be super accurate with any of it. Once the tail is there, you’ll be almost done with this how to draw A European Robin video-guide (00 min 41 sec).
The feet with the claws should be treated carefully (00 min 44 sec). The bird has 4 claws on each foot. Add the log that it’s holding on to before you grab the eraser and get rid of the guidelines. If you want, follow me in coloring the birdy (01 min 14 sec).
Before you learn how to draw A European Robin, did you know?
This tiny bird is pretty nimble and fast; plus, it can survive in pretty much any environment (well, except for the Arctic, of course). The males and the females look almost identical to each other and reach 5 inches in length (yep, they’re quite tiny). They are also known as robin redbreast.
The very first mention of this species dates back to 1758. You’ll be able to find them in Western Siberia, Europe, and even North Africa. Yes, they’re pretty much everywhere (except for the United States). One final thing: the European Robin weighs only 15-23 grams, which makes it an incredibly fragile little thing.