Learn How To Draw Teddy Bears In Love Quickly
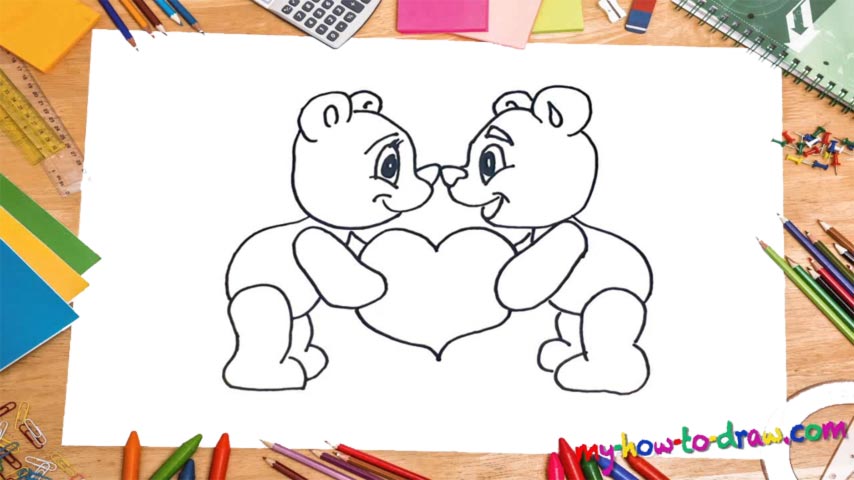
The greatest thing about this tutorial – the characters look almost exactly the same. That means you can focus all of your attention on one of them and then simply translate all that knowledge to the other animal. We’ll start this how to draw Teddy Bears In Love tutorial with the lady on the left (00 min 07 sec). She’s got two tiny ears on top of the head (00 min 18 sec). The one and only visible eye is pretty huge and comes with lashes (00 min 32 sec).
Leave some space for the pupil inside that black oval; the brow is just one simple curve. Ok, we’re pretty much done with the face. Create a curvy line to complete the head and let’s move on (00 min 46 sec). The body is relatively easier. It comes with fewer details. Besides, the hand looks almost like the legs, and the shapes are all pretty basic.
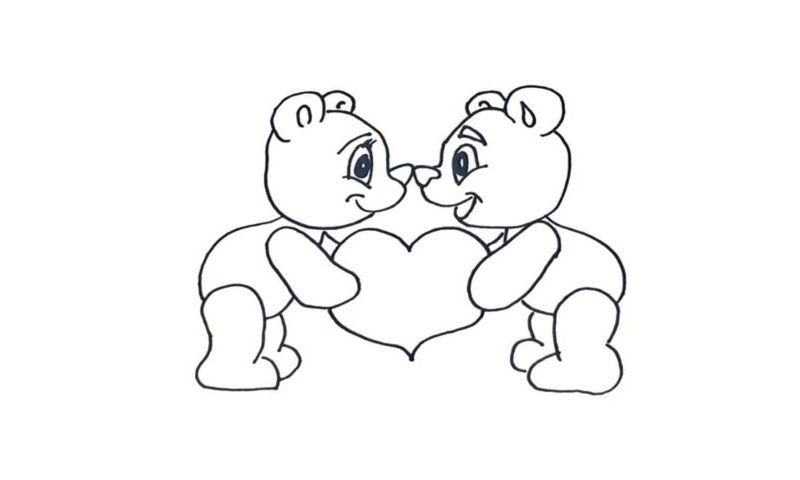
As for the bear on the right, the next step in this how to draw Teddy Bears In Love tutorial, it’s pretty much identical, except that it’s smiling, doesn’t have eyelashes, and the brow is much thicker (01 min 18 sec). Plus, its head is bigger. The heart is the final thing to take care of (02 min 17 sec). Make sure it sits right in the center and overlaps with the hands.
Before you learn how to draw Teddy Bears In Love, did you know?
It’s obvious that this picture is intended for the kids. And even though they might not understand love fully at a young age, it’s important to talk about it while our boys and girls are still young. Besides, doesn’t that drawing look incredibly cute and adorable?
The bears are holding a huge heart from both sides. They’re looking directly into each other’s eyes and don’t seem to care about the rest of the world. The most important person in the Universe is the bear standing on the other side, and the heart is what brings them together and strengthens their love.