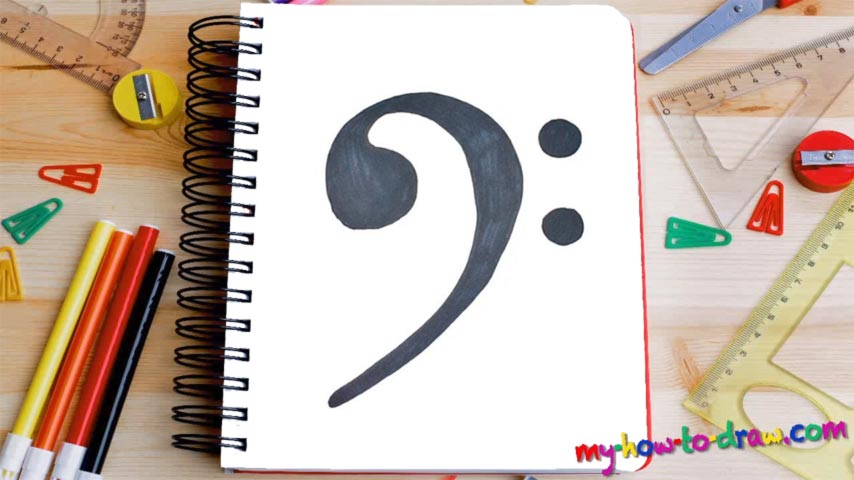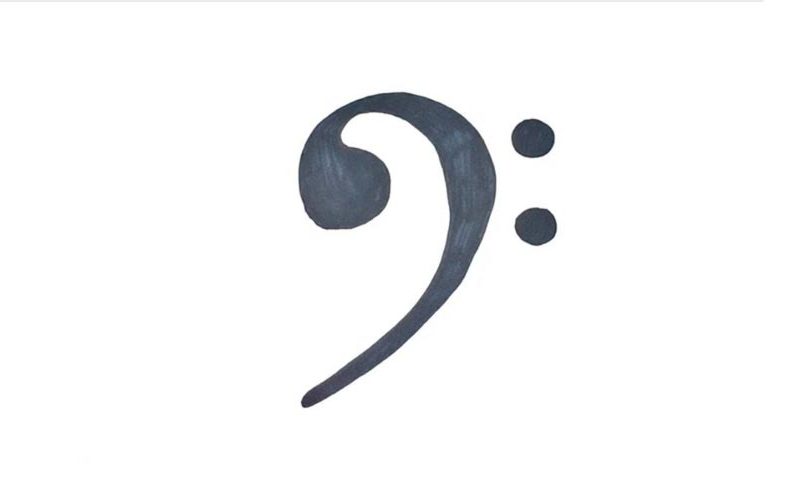
Learn How To Draw The Bass Clef Quickly
Did you take a look at the preview? Think it’s a piece of cake, don’t you? Well, yes, that’s true, but we’ll still go through with this how to draw the Bass Clef tutorial. It’s not always about the difficulty of a certain video guide; so, let’s see what we’ve got here. The main part of this drawing, the Clef, looks a lot like the question mark, doesn’t it (00 min 09 sec)?
Start at the very top and be accurate with your curves. Do exactly like I did and create the outer lines first before adding the inner lines (00 min 18 sec). Alright, now it’s time to take care of the huge dots on the right (00 min 29 sec). They are equal in size and won’t be a problem for us. Some folks don’t put in these circles when they’re in a hurry, but we’ll still do it the proper way.
Ok, we’re practically done with this how to draw the Bass Clef tutorial. All that’s left to do is color all three shapes using black paint (00 min 40 sec). If you want, you can try and add some facial features to the Clef, but that’s all up to you. We’re done with this video lesson, and the end result is awesome!
Before you learn how to draw The Bass Clef, did you know?
Music is one of the greatest forms of art in the world. It allows us to connect to something truly beautiful and meaningful. Music is capable of changing our mood and making us happy and/or sad. And it’s the clefs that allow the gifted musicians to put the magical notes down.
In pop and dance music, the Bass Clef is not really that popular. However, when it comes to classical cuts, it’s just as important. The contrabass, the cello, the French horn and the trombone all sound amazing in the Bass Clef, and you won’t be able to create a complete composition without making a good use of it.