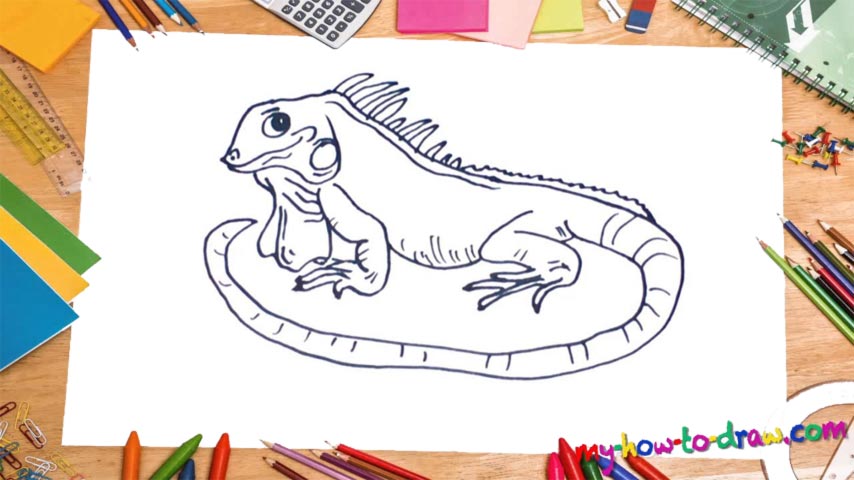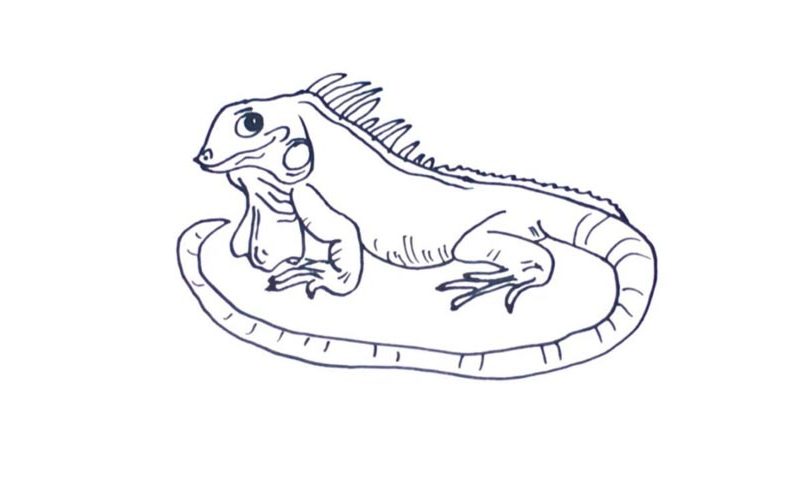
Learn How To Draw An Iguana Quickly
We’ll start with the lizard’s face (00 min 06 sec). Use smooth curves and follow my guide. The eye sits in the middle and looks directly at you (00 min 23 sec). There’s another circle just like that in the bottom right corner (00 min 37 sec). After it’s all in place, we can move on with this how to draw an Iguana tutorial and add the dewlap below it (00 min 48 sec).
It might look like an unnecessary and alien part at this moment, but once you see the whole picture, it will fit in perfectly. The right leg is the next step (01 min 02 sec). It starts right where the dewlap ends and comes with four claws. If you’re happy with it, use a super-long line to cover the animal’s back (01 min 30 sec). Gradually, it turns into the tail that reaches the head from the other side.
This is the most important part of the how to draw an Iguana tutorial. The tail stops where the rear leg starts (01 min 48 sec). The scales and spikes on its back will make the lizard look perfect (01 min 57 sec). Make sure they’re different in size and shape. That tail is covered with simple lines all over (02 min 20 sec). The real leg is the final step (02 min 35 sec).
Before you learn how to draw An Iguana, did you know?
These wonderful lizards live in Central/South America and the Caribbean. Mankind first learned of their existence back in 1768. There are 2 distinct species, and the green iguanas are great pets. They look awesome and aren’t picky and/or needy when it comes to food.
As reptiles, they prefer the hottest spots on planet Earth and can’t survive in the colder regions. Keep that in mind if you’re living in, say, Norway, and want to buy an Iguana as a pet. These beasts can be as long as 1.8 meters and are hard to find, as they are great at hiding in the shadows and blending with the surroundings.