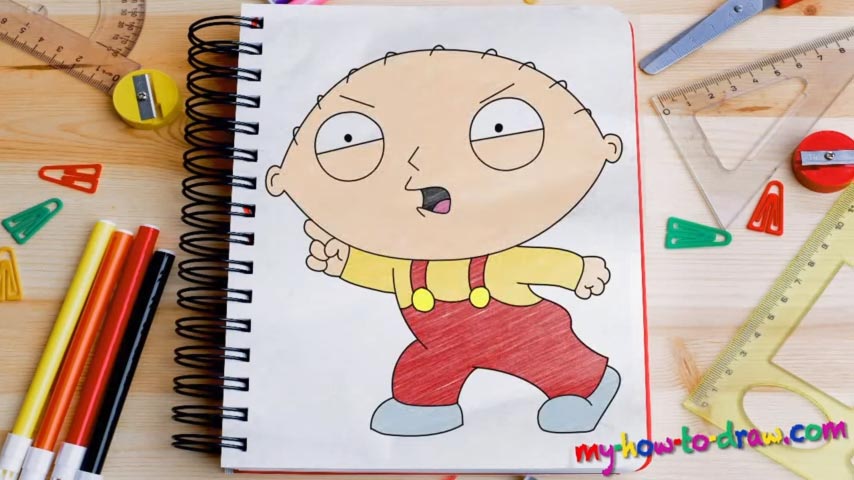
Learn How to draw Stewie Griffin – Family Guy Quickly & Easily!
The rough sketch for this incredibly-smart and brutal baby is pretty simple and won’t take more than a minute. Yet, it is a vital part of this how to draw Stewie Griffin – Family Guy tutorial, especially if you want your drawing to look really good. That huge oval shape is, obviously, his massive head (01 min 17 sec). Use one horizontal and one vertical line to split it into four separate parts.
That will help you get the sizes and the positions right. The following guiding strokes – two circles and several curvy lines – are the body (01 min 46 sec). Be quick about those and let’s move on to the meat and potatoes of this video. The next stage of the how to draw Stewie Griffin – Family Guy tutorial – the clean drawing – should start with…the ears (03 min 09 sec). Connect them with each other by using the rough sketch we just did.
The huge eyes come next (03 min 43 sec). Keep in mind that they’re not identical and the pupils are a bit different. The rest of the facial features – eyebrows, the nose, and the mouth are incredibly simple (04 min 23 sec). Add some hair on his head and let’s switch to the body (05 min 00 sec). It’s very important that the legs and the hands are positioned the right way.
Again, the guidelines you did in the beginning will help with that. Simply follow the video and put the curvy lines in. If the sketch is good, you won’t have any problems at this stage. And before you say “It’s over”, get rid of the light strokes and color this boy (07 min 41 sec).
Before you learn how to draw Stewie Griffin – Family Guy, did you know?
This rough-tough fella is just a kid: he’s a 1-year-old baby but has more “kick” than most of the grown-ups in Family Guy. He’s got a pet teddy bear and the greatest weapon out there – a laser gun. With it, Mr. Griffin has taken over the world more than once and plans to enslave the neighboring planets one day.