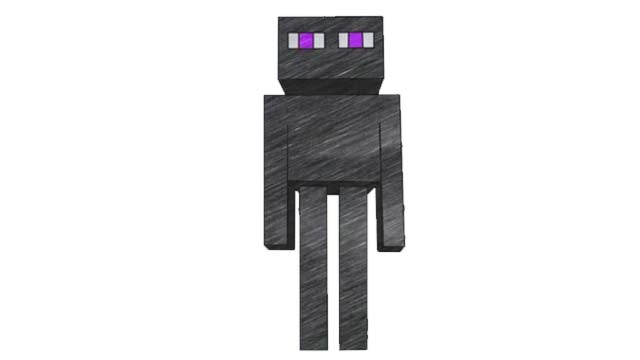
Learn How to draw Enderman – Minecraft Quickly & Easily!
If you picked this video-guide because you think Enderman is easy enough for a beginner to handle, you did the right thing. This is one of the easiest tutorials on our website; still, you’ll have a great time with it and learn a thing or two along the way. We begin with a couple of guiding shapes that will help us learn how to draw Enderman – Minecraft.
That tiny rectangle on top of the paper is the sinister-looking fella’s head (00 min 24 sec). The much bigger one at the bottom is, of course, his body (00 min 40 sec). Once you’re done with those two, draw a longer and narrower rectangular shape for the legs. That’s it. Now grab your favorite marker and let’s put the clean strokes in (01 min 45 sec).
Basically, we’ll go over the rough sketch we just did but make the lines a lot smoother. When working on the body and the legs, make sure you add those extra lines that make the shapes look three-dimensional (04 min 06 sec). That’s the most important thing to remember in this how to draw Enderman – Minecraft tutorial. Same goes for the head.
If you’re happy with what you’ve got so far, complete the drawing and put the big, hypnotizing eyes where they belong (05 min 27 sec). As far as coloring goes, you’ll need black for most of the body and the head and a combination of white and purple for the eyes. That’s actually what gives this character that otherworldly look.
Before you learn how to draw Enderman – Minecraft, did you know?
He’s tall, black, and pretty boring in terms of the appearance. He’s got long limbs just like the Slenderman and purple eyes that look especially scary during the night. It takes this creature one look into a player’s eyes to defeat him/her. So, avoid eye contact at any cost.

