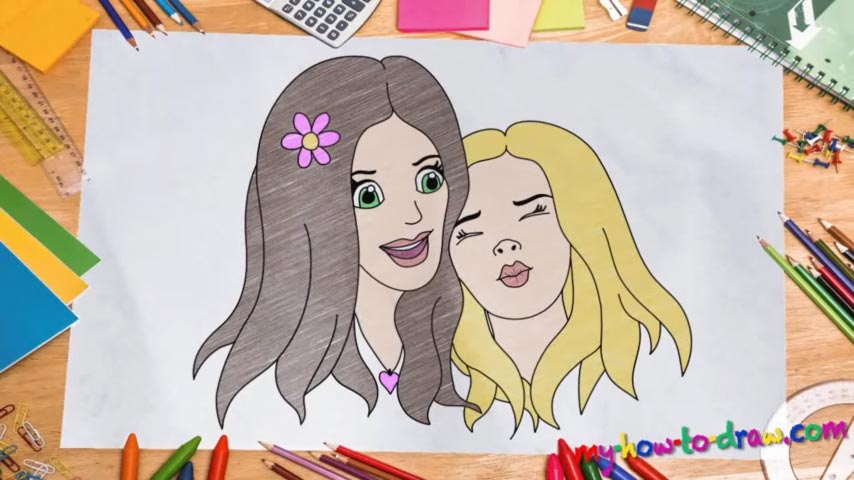
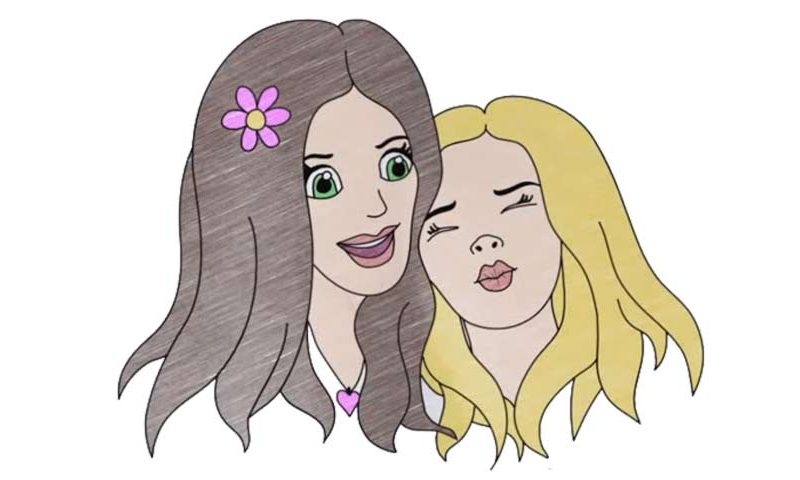
Learn How to draw 2 Best Friends BFF’s Quickly & Easily!
Begin with the left head and move on to the right one (00 min 24 sec). They overlap just a tiny bit. Next, you should cut them into four parts with a series of curves to mark where the facial features should “sit”. This is the most important step in our how to draw 2 Best Friends BFF’s tutorial because if you get this wrong, the final product will be a mess.
After you add those curvy lines that symbolize the hair, you’ll be pretty much done with the intro (01 min 16 sec). If you’re happy with what you see so far, grab the best marker you’ve got and draw the left girl’s right eye (01 min 43 sec). The left one looks identical, but before you get to it, go over that curvy hairline.
The nose and the mouth are easy and are just comprised of several curvy lines (03 min 28 sec). Once the eyebrows are in, move on to the head and complete the hair (04 min 46 sec). That’s the second half of our how to draw 2 Best Friends BFF’s tutorial. The third one (which is also the last one) is the girl on the right. The nose comes first (05 min 32 sec).
The eyes are the easiest part; if everything looks good, paint the eyebrows and set up some basic lines for the hair. Doesn’t her mouth look cute (07 min 04 sec)? Keep in mind that both lips need to be equally full. Use the guidelines and draw a curvy line for her jaw (07 min 26 sec). All that’s left to do now is finish with the hair and add that flower in the left girl’s hair. That’s it!
Before you learn how to draw 2 Best Friends BFF’s, did you know?
In this particular drawing, we’ve got two laughing girls next to each other. The beautiful thing about it is that once you master the technique, you’ll be able to use it with other characters of your choosing. Have some fun with it and experiment!

