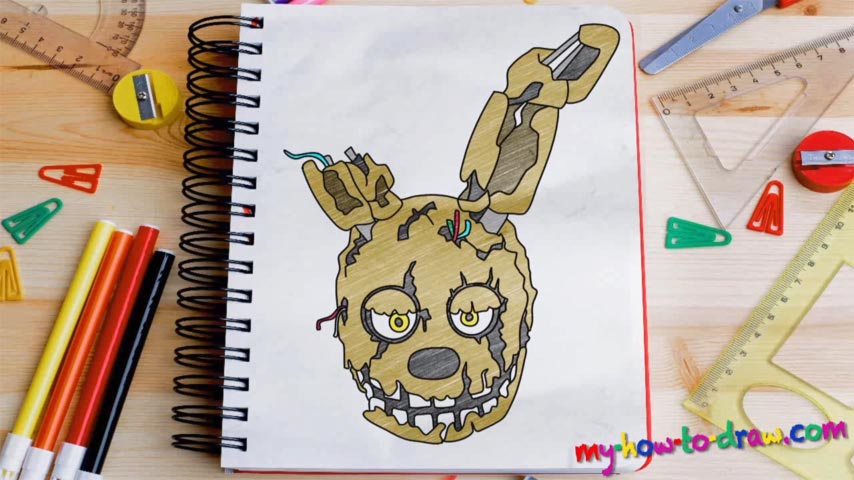
Learn How to draw Springtrap From FNAF Quickly & Easily!
You probably already started drawing that oval shape at the bottom of your paper. Well, don’t stop there (00 min 23 sec)! If you’re serious about learning how to draw Springtrap From FNAF, go ahead and split it using three curves (00 min 40 sec). It’s super important to get the angle right because you’ll be relying on these guidelines when it comes to the various facial features.
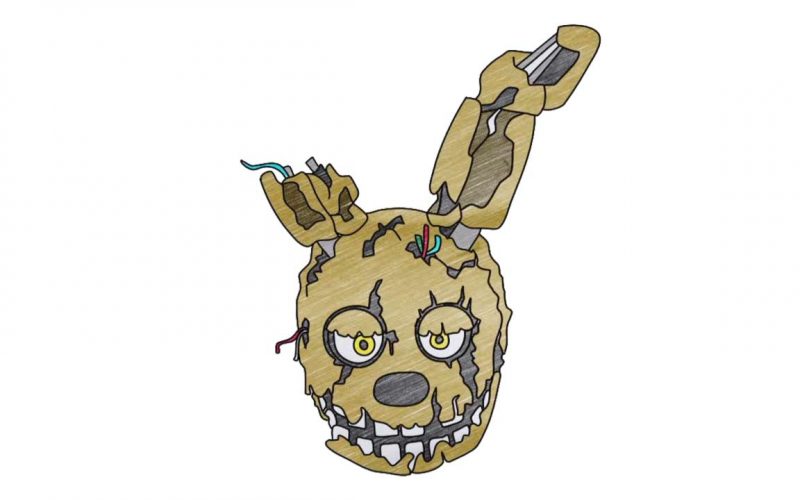
The ears sit on top of the head (obviously) and the left one is positioned a bit lower. Add two more circles inside the original oval for the eyes and you’ll be done with the sketch (00 min 55 sec). The nose is easy. It’s the eyes that are the real challenge (01 min 21 sec). As you can see, the entire head is full of cuts and tears. Be extra careful with them and try to do everything exactly like I did in the how to draw Springtrap From FNAF video.
You can always go “rogue” and put the gaping holes wherever you want, but in that case, your drawing won’t be authentic. When it comes to the teeth, you should paint them in white so that they don’t get lost behind the cuts on the face. Once that’s done, move on to the cuts on his forehead (05 min 28 sec). Don’t forget about those wires coming out of the creature’s head (05 min 40sec).
Both ears are heavily damaged (06 min 55 sec). The left one is missing the upper half and has wires hanging out. After you add the wires in the left part of the head (right next to the eye), the how to draw Springtrap From FNAF manual will almost be over (08 min 10 sec). Finally, go back to the ear on the right and bring this home (08 min 39 sec).
Before you learn how to draw Springtrap From FNAF, did you know?
There’s no need in describing this horrifying creature because one look at it is all it’s going to take you to have nightmares. Springtrap looks like a creature from Hell and it will be extremely difficult to put it down. Stay vigilant and don’t let this monster surprise you with a sudden attack!