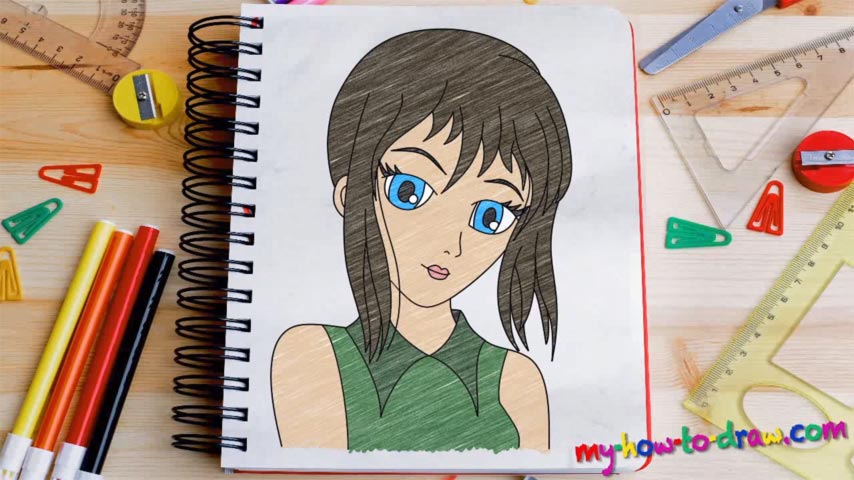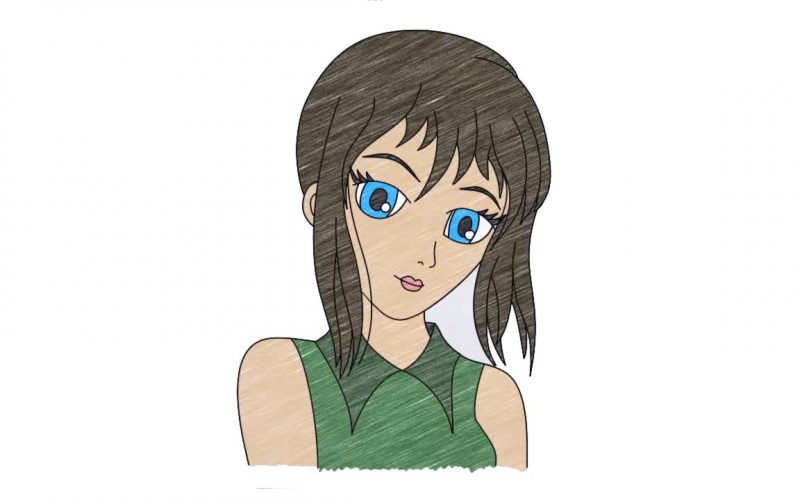
Learn How To Draw An Anime Girl Quickly & Easily!
The sketch starts with the head. Create a slightly tilted oval shape in the middle (00 min 24 sec). Then, use two curvy lines (one horizontal and one vertical) to cut it into four parts and make it easier for yourself to place the facial features right. The next stage of our how to draw an Anime Girl is the rest of the body (00 min 47 sec).
Obviously, it’s not nearly as detailed as the head, but you should still create some rough guidelines for it. Two circles for the shoulders, and you’re ready to go! The eyes come right after the sketch is done (01 min 07 sec). The right one looks exactly like the left one. As always in anime, the nose and the mouth are extremely simplified (02 min 11 sec).
The next part of our how to draw an Anime Girl tutorial is, of course, the hair. Try to imagine the final result in your head and be conscious about your strokes. Or, you can just go ahead and add some chaotic hairlines here and there – they will still look good. If you think your drawing looks fine, complete the lower part of the head (the jaw, to be exact) and get to the body (04 min 40 sec).
As mentioned in the beginning, this is the easiest part. Keep the right proportions and make sure the shoulders aren’t bigger than in the video because then you would just ruin the whole concept. As far as the colors go, you are more than welcome to experiment with her hair and the clothes she’s wearing.
Before you learn how to draw An Anime Girl, did you know?
Some people claim that Anime is easy and it won’t take much to create something in this genre. And while they’re partially true, there’s enough depth in there to last for a lifetime. This particular drawing looks great and will help you get some basics down before moving on to more sophisticated compositions.