Learn How to draw A Birthday Cake Quickly & Easily!
Let’s start this delicious tutorial with the guiding ovals (00 min 22 sec). You’ll need three in total. They “sit” on top of each other and grow bigger as you move to the bottom of the paper. Believe it or not, that’s it for the light strokes. They will help us a lot in this how to draw a Birthday Cake video guide, though.
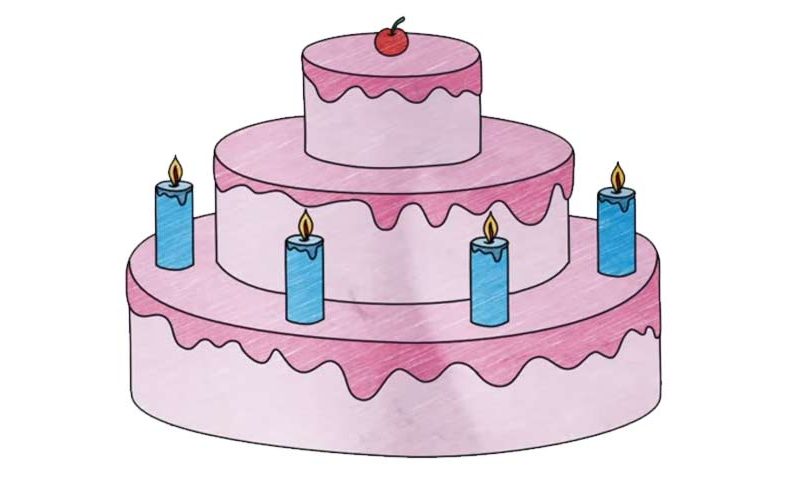
Switch to dark strokes and create that apple on top (00 min 43 sec). It looks pretty awesome up there, doesn’t it? Next, use the rough sketch to draw the upper part of the cake and stretch a zigzaggy line at the bottom for the cream. Same goes for the second level (01 min 36 sec). Carefully go over the existing strokes and make sure the new curves are smoother.
There’s no point in going into further details about this stage of the how to draw a Birthday Cake tutorial, because, again, it’s identical to the first one. As for the third and the last part, you’ll need to place a number of candles (four in total) before moving on to the foundation of that tasty cake (02 in 15 sec). In the video, they look identical, but you can experiment with the size and the shape.
Alright, now it’s time to bring this home and finish the 1st level (04 min 13 sec). Are you satisfied with the result? Then make sure to erase all the light strokes before coloring the drawing. We recommend a combination of light and dark pink for the cake, blue for the candles, yellow for the flames, and red for the apple.
Before you learn how to draw A Birthday Cake, did you know?
Who doesn’t like cakes, right? Especially when it’s their birthday. This one doesn’t come with any sophisticated curves and/or shapes, which means even the beginners will get the hang of it. Hey, that huge cake does look yummy now that you’re done drawing it, huh?
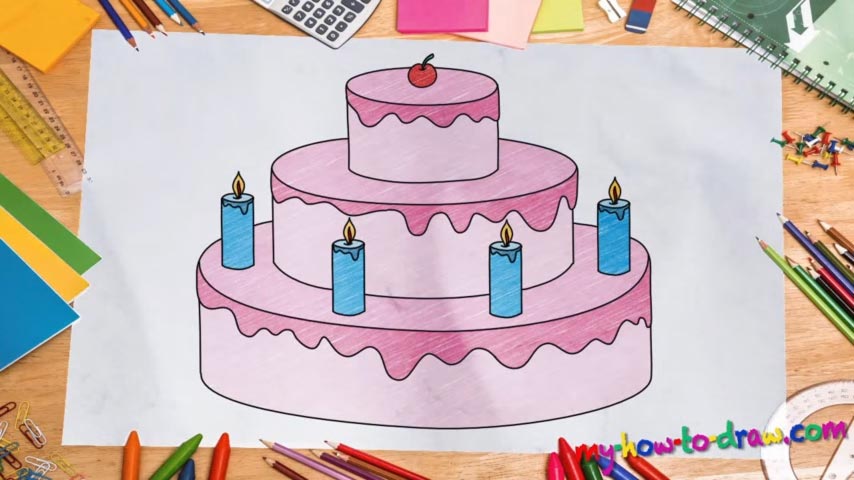
It’s nice and easy also fast done I even used it for my grandpas birthday