Learn How To Draw Sakura From Naruto Quickly
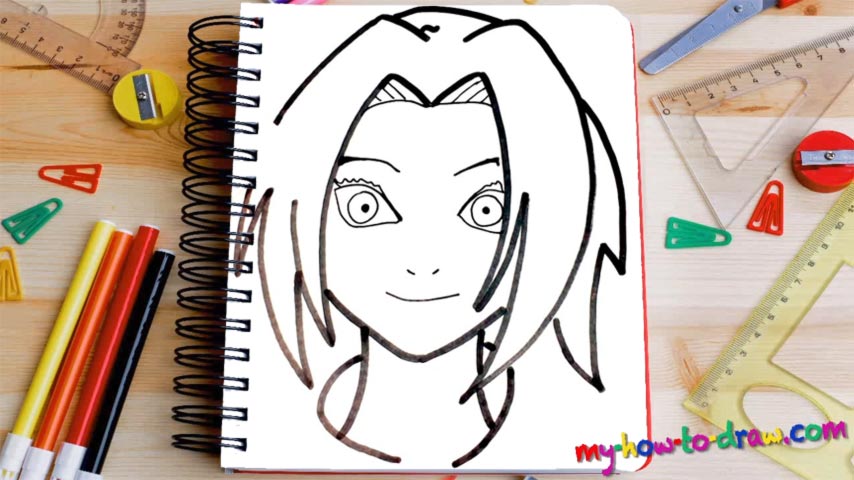
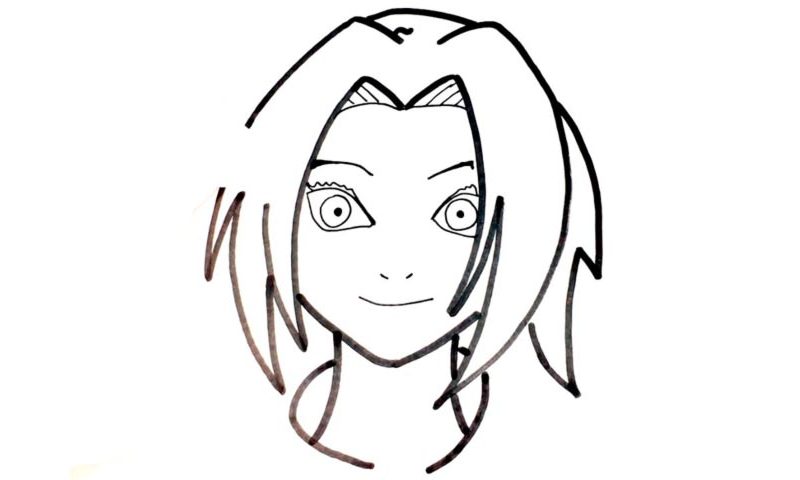
We’ll start this drawing by taking care of the beautiful eyes (00 min 07 sec). They are pretty much identical, but the one on the right is covered a bit by her hair. The left eye comes first. Put the two tiny circles in and only then add the main body of the eye. For the lash, use a zigzag-like line (00 min 30 sec). As mentioned already, the right eye is an exact copy.
The brows sit right above the eyes and give them that anime look (01 min 15 sec). Ok, now it’s time to move forward with this how to draw Sakura From Naruto tutorial and take care of her hair (01 min 47 sec). Don’t just go adding chaotic lines here and there: try to be consistent with this and follow my lead. Use thicker strokes for this part.
If you’re happy with it, go back to the face and add the nostrils and the mouth (03 min 45 sec). You’ll need two tiny dots and one simple curve for that. For the chin, use another thick line (04 min 02 sec). All that’s left now to complete this how to draw Sakura From Naruto tutorial is to add a couple of basic lines for the neck (04 min 17 sec).
Before you learn how to draw Sakura From Naruto, did you know?
She’s a member of Team 7, a powerful organization in the popular anime world of Naruto. She made her first appearance in 1999 and has been a huge part of this franchise ever since. At first, she didn’t really like Naruto, and the two had some sort of a confrontation. However, over the course of time, the two realized that they had to work together towards a mutual goal.
Even though the people behind this anime series didn’t plan on making Sakura the lead female character, the fans really loved her and made her stay. At first, she looked a bit ridiculous with a big forehead and other exaggerated body parts. Later, Kishimoto, the author of the anime, put a lot of work in trying to make her look beautiful.