Learn How To Draw A Telephone Quickly
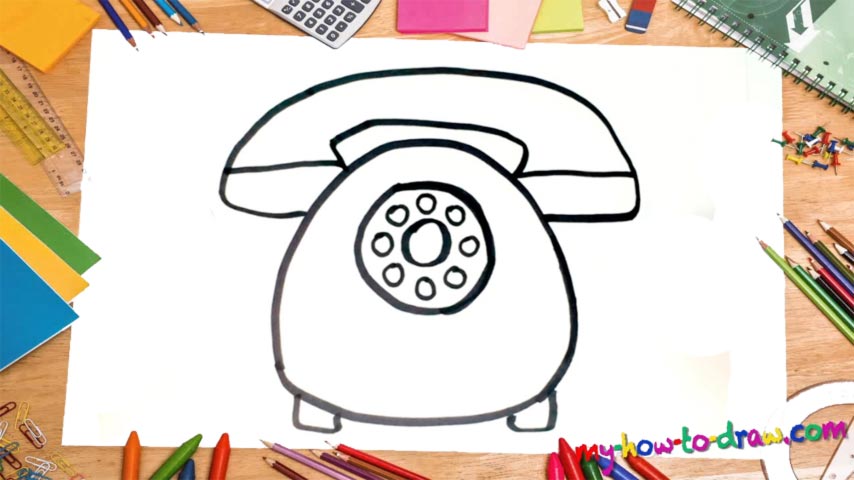
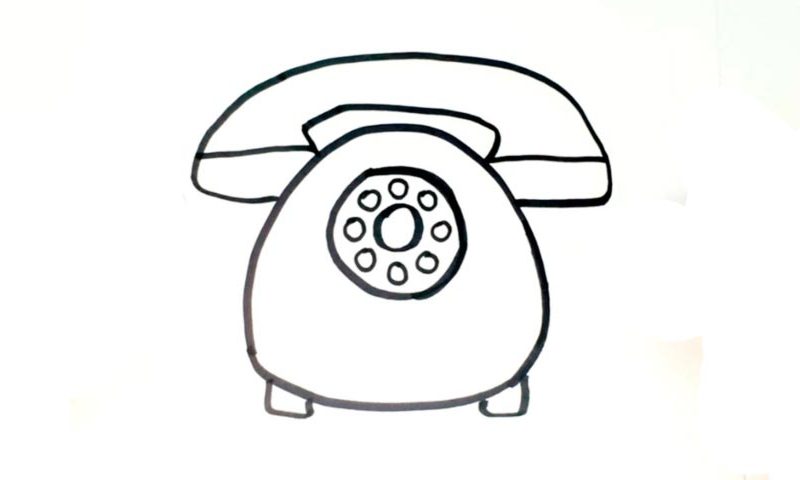
As you can see from the preview image, this is a very simple lesson. It consists of several primitive shapes, but together, they create something nice and beautiful. Start this how to draw a Telephone tutorial in the lower corner with the main body (00 min 06 sec). It looks like a dinosaur egg. The old-school rotary dial sits in the upper corner of it (00 min 31 sec).
For this, you’ll need one big circle, another one in the middle of it, and 8 super-tiny circles representing the numbers. There’s nothing hard about this part. Ok, we’re halfway through with this video. The tiny “legs” sit at the very bottom of the paper and hold the telephone nice and steady. The final part of this how to draw a Telephone tutorial is the handset.
It is identical on both sides and sits on top of the phone (01 in 15 sec). Basically, you’ll need two similar-looking horizontal curvy lines to complete this part. Looks like the real thing and takes you back to the black-and-white movies, right?
Before you learn how to draw A Telephone, did you know?
In the 21st century, telephones made a huge impact on the world, and while the 70s-90s used to have stationary phones, these days, we have the compact, mobile versions that look fancy, are easy to carry around, and can also take pictures, play music, videos, and even access the Internet. Yes, they’ve turned into all-around ass-kickers, and that’s awesome.
The very first telephones were introduced to the world in 1876 when the US government ordered a scientist to build a device for communicating on a distance. Until the 70s, rotary dials used to rule the show. The push-button dial models came around in 1963 and became wildly popular in the 80s. The cell phones became wildly available in the late 90s.