Learn How To Draw Naruto Quickly
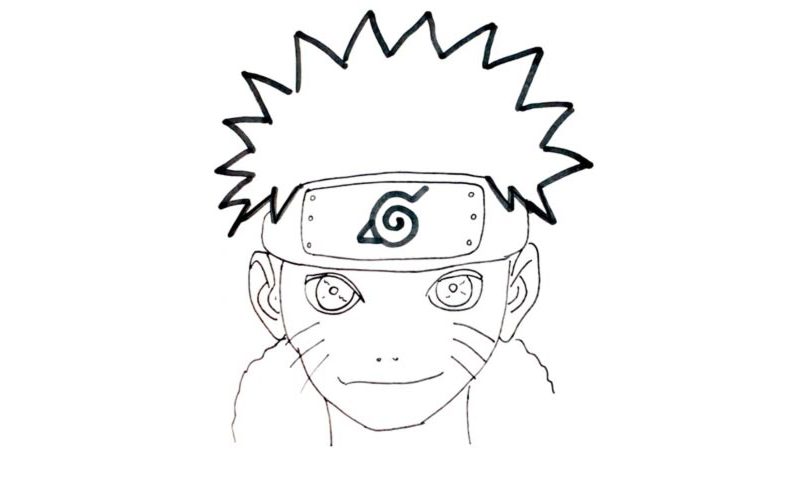
The eyes of this character grab your attention with that heroic look, and that’s exactly why we’ll start our how to draw Naruto tutorial there (00 min 06 sec). The left eye comes first. You’ll need two circles of different size, a thick horizontal curve for the brow, and a half-circle at the bottom. Same goes for the second eye (00 min 32 sec).
The trademark sign sits on a “plate” right above the eyes (01 min 34 sec). For the nose and the mouth, you’ll need two tiny dots and one simple curve (02 min 18 sec). See those lines on the sides that look like whiskers (02 min 38 sec)? Add them next. The face is done. Use a V-like curve to complete the head. The band sits right above it (03 min 14 sec).
The crazy haircut follows in this how to draw Naruto tutorial (03 min 54 sec). It’s a zigzag-like shape – nothing hard there. Don’t forget about the ears – they are right below the band (04 min 46 sec). The neck and the shoulders complete this video lesson (05 min 29 sec).
Before you learn how to draw Naruto, did you know?
If you’re a fan of anime, this guy needs no introduction. He’s just a kid, a teenager, but he’s got a gift and dreams of proving his worth to the village he was born in. Naruto is a ninja, and his strong spirit, along with his optimistic, do-first-think-later personality allowed him to become friends with many fellow ninjas not only from his village but also from other settlements.
Kishimoto, the man who created the series, wanted to make this character simple and stupid so that the Western civilization would find him attractive. That also gave him an opportunity to turn Naruto into a true hero with strong principles. Later, he added a dark, sad side to the boy, introducing tragedy into the anime.
