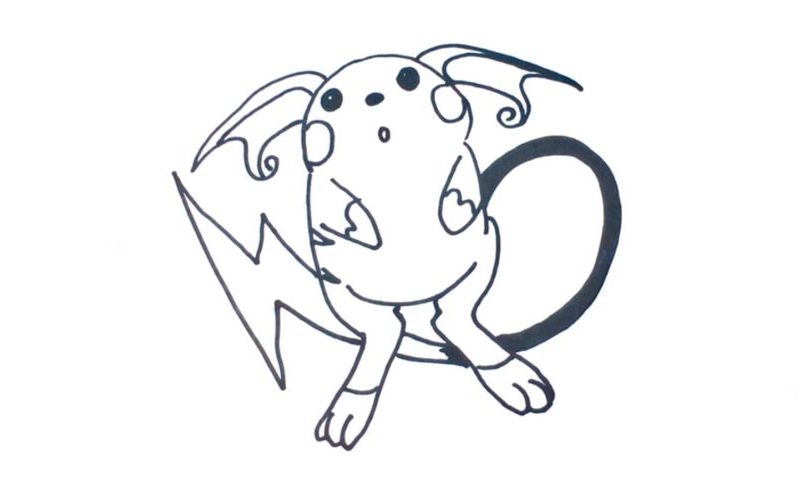
Learn How To Draw Raichu Pokemon Quickly
Add a curvy line right from the beginning to cover the top of the beast’s head (00 min 09 sec). You’ll need four circles for the next step of this how to draw Raichu Pokemon – the facial features (00 min 17 sec). The eyes are the biggest shapes. The nose and the mouth are just two ovals/circles that still look good. Don’t forget about the cheeks (00 min 40 sec).
The gorgeous ears follow (00 min 50 sec). They look like they belong to a magical creature like, say, a dragon. The shapes are identical. Follow my guide to get every single curl right. Ok, now it’s time to move on to the body (01 min 12 sec). The hands are super-short and don’t have any fingers. The legs, in turn, have three (01 min 33 sec).
This step of the how to draw Raichu Pokemon tutorial is very important. The size needs to match mine perfectly; otherwise, the proportions will be lost. And we’re down to the final stage – the super-long tail (01 min 55 sec). It should be colored black all the way up to the middle. The tip looks like a dagger or the badge of The Flash.
Before you learn how to draw Raichu Pokemon, did you know?
If you love the iconic Pokemon series, then we bet you like this guy. He is something of a symbol of the franchise and has been around since the old days. But did you know that Raichu is an electricity-happy brute and can hold up to 100K volts? Yep, that’s true!
With a total body mass of 30kg and a height of 0, 8 meters, this creature is capable of doing great things. A Pikachu can turn into a Raichu, but there’s no more “stepping up” from there. The bottom line is – the fans of Japanese mangas, cartoons, and video games love and cherish this universe. If you’re one of them, then please, join us in this lesson!

