Learn How To Draw A Duckling Quickly
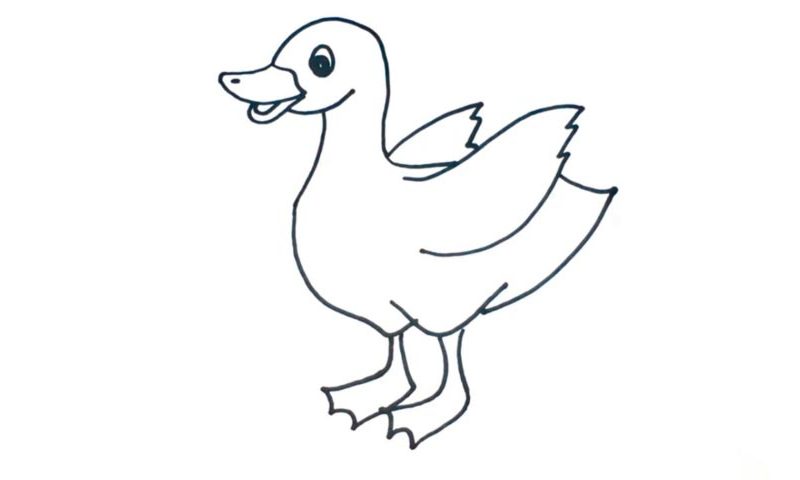
The beak is the first thing we’ll work on today (00 min 08 sec). It consists of two parts. The one on top is much larger and has a dot in the left corner. The next step in this how to draw a Duckling tutorial is the shape of the head (00 min 20 sec). Use a curvy line that starts right where the beak ends. Another one “comes out” of the lower beak.
The one and the only eye sits right in the middle of the head (00 min 30 sec). To make it look realistic, leave white spots in the lower and upper corners while coloring the middle black. Ok, now it’s time to add the identical wings (00 min 42 sec). They are very simple and look great in the overall composition.
If you’re satisfied with everything so far, move on to the next step in this how to draw a Duckling tutorial. To cover the bottom of the body, use several basic lines (01 min 00 sec). Make sure you’ve got two “dips” in the lower corner. They are there for the legs that look like the fins they sell at the specialized stores. Alright, we’re now officially done with this lesson – hope you had some fun!
Before you learn how to draw A Duckling, did you know?
Thanks to the iconic American cartoons featuring ducks, we’re no strangers to these beautiful creatures. As farm animals, they have been guarded by our kind for many centuries. It’s not that easy for the ducklings to survive in the harsh world out there.
And, since the humans are interested in keeping them alive so that they grow into big, tasty birds, we are ready to protect them in any ways necessary. By the way, did you know that the term “duck” is often used to describe a huge number of water-friendly species, including, say, the geese and the swans?
