Learn How To Draw A Bottle Quickly
Without a doubt, this isn’t a sophisticated drawing. It’s made of simple lines and curves, and the overall shape is pretty basic. But that’s a good thing because if you’ve never been great at this, you’ll still master the how to draw a Bottle tutorial and pass our test with flying colors. Let’s start in the upper right corner and create a simple line (00 min 06 sec).
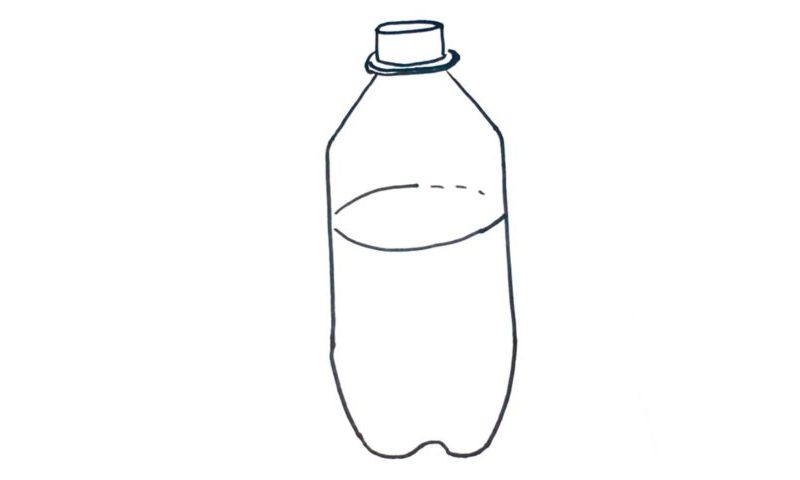
Do the same on the left side. The greatest thing about this bottle is that the two sides of it are identical in almost every part. Once they’re in place, go ahead and add two straight vertical lines to cover the sides (00 min 14 sec). The bottom is a bit more complicated (00 min 25 sec). Use curves for it and make sure you get the “dip” right. Because the bottle is not standing straight, that dip is not in the middle.
The next step in this how to draw a Bottle tutorial is the oval shape that imitates the liquid (00 min 50 sec). The cap is the last part. As you can see, there’s nothing hard about it: just a series of curves of different sizes and shapes.
Before you learn how to draw A Bottle, did you know?
We’ve got a very basic example of a bottle in our preview, and that makes our job quite easy. But hey – this is the most common variety, and we use it in our daily routine. If you’re looking for a more sophisticated image of a bottle, you can check out the world museums.
The bottle that we’ve got in this tutorial is usually used for water, milk, or bee. It’s made of plastic, which allows the manufacturer to lower the production cost to a minimum. Obviously, the more expensive brands of beer have their own trademark bottles that are made of glass and look cool, but that’s not our focus today.
