Learn How To Draw Pocoyo Quickly
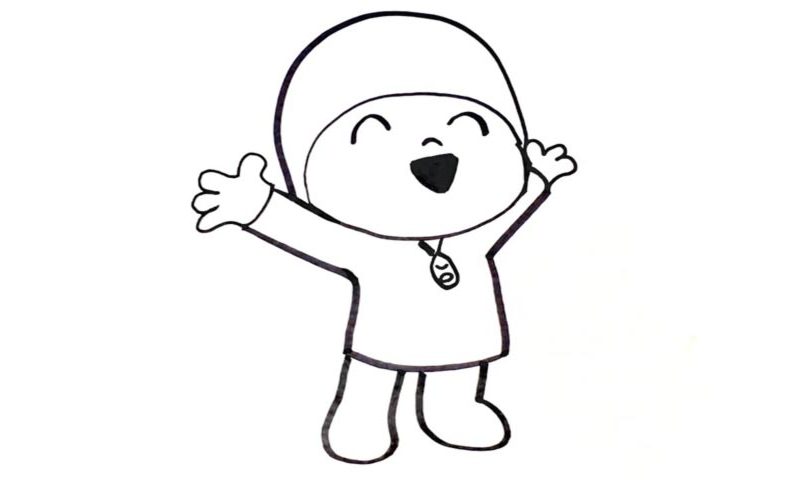
This is a super-easy and fun video and it looks great. The fancy hat that he always wears comes first (00 min 07 sec). You’ll need two curvy horizontal lines that together look like the moon. Add another curve to cover the lower half of the head (00 min 26 sec). Ok, now that the intro to this how to draw Pocoyo tutorial is done, let us move on to the facial features.
Everything is very primitive here. For the eyes, use two simple curvy lines (00 min 38 sec). The nose is just a tiny dot. The mouth looks like a triangle colored black. The boy’s hands are identical to each other, but the left one looks bigger because of the angle (01 min 03 sec). You can see only three fingers on the right hand, while the left hand comes with four.
The next part of this how to draw Pocoyo tutorial deals with the feet (01 min 50 sec). He’s got some regular boots on that have no extra details. That trademark zipper sits in the upper corner of the shirt (02 min 04 sec). Alright, now we are officially done with this drawing!
Before you learn how to draw Pocoyo, did you know?
Pocoyo is the main character, the hero of a Spanish slash American animated TV series of the same name (it’s for the little ones). He’s just a 4-year-old boy but has more drive and curiosity in him than most grown-ups. The kid spends his time playing dangerous games and doing whatever it takes to discover new, exciting stuff. Plus, he is incredibly fast and agile.
The famous blue clothes the boy always wears have become something of a symbol of the series. Pocoyo has 3 best friends: a yellow duck, an orange puppy, and, of course, a pink elephant. Together, they travel the world in search of thrilling new experiences. The boy has some anger management and jealousy issues to work on.
