Learn How To Draw An Elfe Quickly
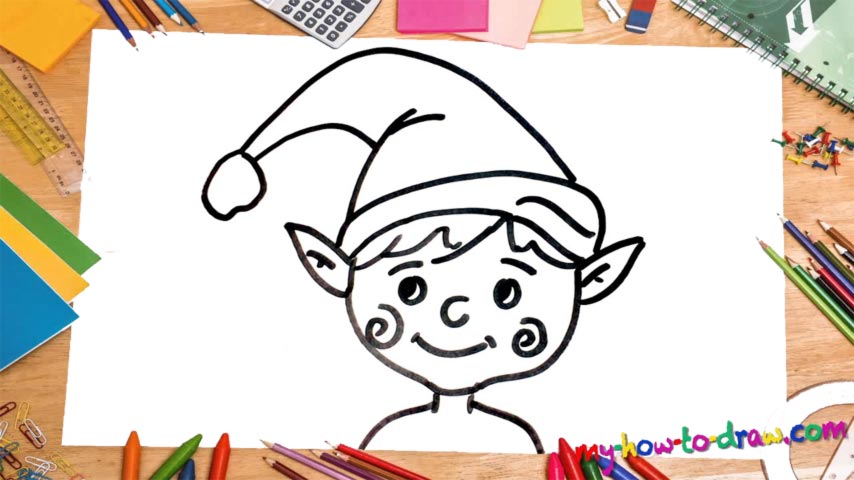
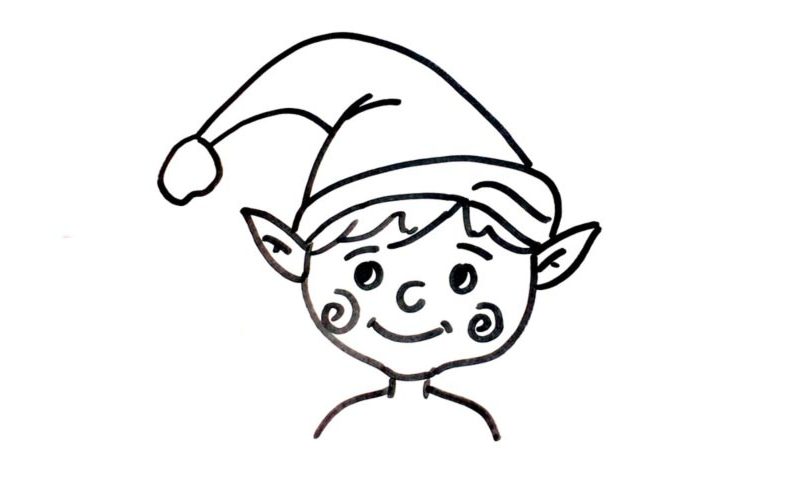
Let us begin with the facial features (00 min 05 sec). For the eyes, you’ll need two tiny circles. Color them half-black and leave some white spots. The nose looks like the letter C (00 min 24 sec). The mouth is just one simple curve at the bottom. The classic “infinity cheeks” are the next step in this how to draw an Elfe tutorial (00 min 47 sec).
Once you’re done with the brows, move on to the chin and start working on the outline of the head (01 min 07 sec). You’ll need a shape that looks like a vase. If you’re happy with it, get to the zigzag-like hair right on top of it (01 min 26 sec). The pointy ears on both sides of it look identical to each other (01 min 48 sec).
The fancy hat is the most in-your-face part of this how to draw an Elfe tutorial (02 min 18 sec). It’s actually very simple and looks like something Santa Claus would wear. To complete this drawing, move to the bottom of the paper and add the neck and shoulders (03 min 10 sec). If you want, go ahead and color the hat.
Before you learn how to draw An Elfe, did you know?
If you’re a fan of fantasy and franchises like Harry Potter, Lord Of The Rings, and such, then you definitely know who the Elves are. These creatures are usually tall, skinny, have sharp, pointy ears, and live for hundreds, if not thousands of years. Together with the humans and the dwarves, they are the most influential species in most fantasy worlds.
However, the initial concept was a bit different: the elves used to be short, funny, looked like kids and had these stupid stocking caps on. These days, you can see them in a bunch of movies, TV shows, and video games, and they are almost always on the Good side.