Learn How To Draw A Little Hen Quickly
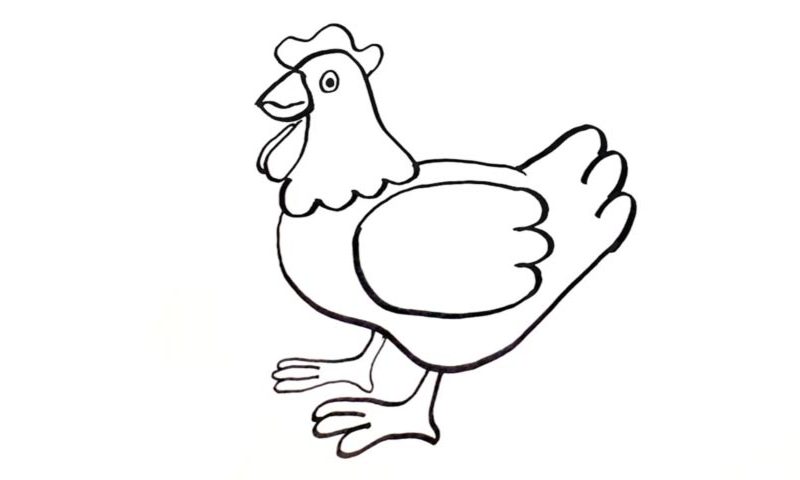
We start with the bird’s head – the top of it (00 min 07 sec). The beak sits in the right corner (00 min 28 sec). The tiny eye is the next step in this how to draw a Little Hen tutorial (00 min 40 sec). Two circles – that’s all you’ll need for it. The comb completes the head. Does everything look good on the paper? Great, let’s move to the body then.
Use one huge (long) curve that starts at the bottom of the head and ends on the other side but on the same level (height) (01 min 08 sec). The funny tail consists of three similar shapes that sit on top of each other (01 min 20 sec). Follow my example and connect the right side of the head to the body with a simple horizontal line.
The feet, the next stage in this how to draw a Little Hen tutorial, sit at the very bottom. They have three fingers each (01 min 35 sec). The one on the right should be bigger. To complete the drawing, add a huge wing right in the middle of the body (02 min 00 sec). It resembles the tail a lot.
Before you learn how to draw A Little Hen, did you know?
Even though we’re more used to the word chicken, officially, the females are called hen. As one of the most popular and widespread animals tamed by our kind, the chickens have a strong presence in our lives. Since the ancient times, these creatures have been living side by side with us, giving us meat and eggs. We, in turn, offer them protection.
Currently, there are approximately 20 billion chickens living in the world! According to the official reports, there are more hen/chickens out there than any other bird species. By the way, did you know that originally, mankind raised these birdies for cockfighting? Yep, that’s right. So, next time you have a chicken soup or fried chicken, treat your meal with respect!
