Learn How To Draw A Mouth Quickly
We begin this lesson with a horizontal line that will cover the top of our drawing (00 min 07 sec). Once it’s in place, move on to the next step of this how to draw a mouth tutorial – the lower half (00 min 16 sec). You’ll need a half-a-circle for this. Looks a bit like a flower vase right now, doesn’t it? Don’t worry: we’ll turn it around pretty soon.
The teeth are probably the most important part (00 min 32 sec). Start in the upper corner with the one in the middle and gradually work your way from there. By the way, this is the biggest tooth. The rest are getting smaller the further away you move from the center. If you’re happy with everything so far, get to the bottom line of teeth (01 min 00 sec).
Again, add the middle tooth first and only then take care of the rest. The tongue is the next step in our how to draw a Mouth tutorial (01 min 16 sec). Use two similar curves to complete it. Ok, we’re done! All that’s left to do is draw those curves around the corners.
Before you learn how to draw A Mouth, did you know?
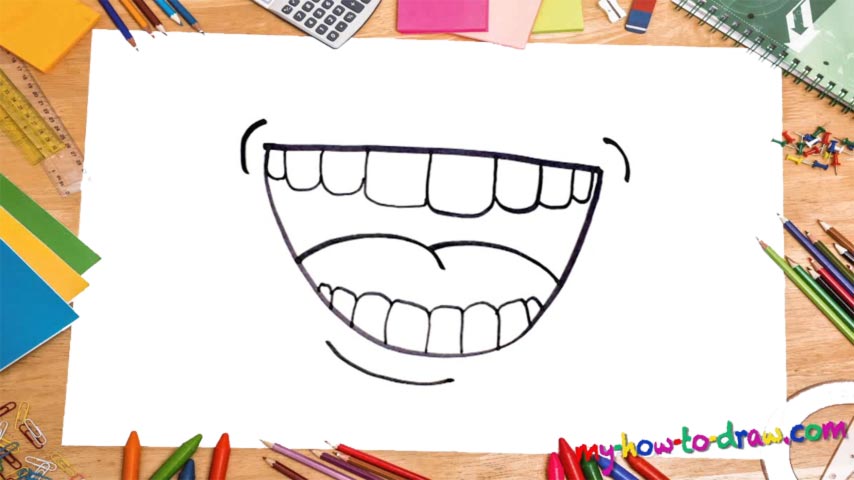
According to the scientists, if we smile more, that will make us happier and turn the world into a better place. Plus, people that tend to smile and laugh more usually live longer. And while that’s not officially proven, it’s always better to see positive people on the streets. In this particular tutorial, we’re dealing with a rather simple image of a mouth.
It’s got big, strong teeth, and you can see that it’s laughing. Now, while this is, indeed, an easy lesson, you’ll still need to be vigilant and make sure all those curves and straight lines are exactly where they belong. This is a human mouth, but if you change things up a bit, you’ll be able to “fit” it to the majority of mammals living on planet Earth.