Learn How To Draw A Photo Camera Quickly
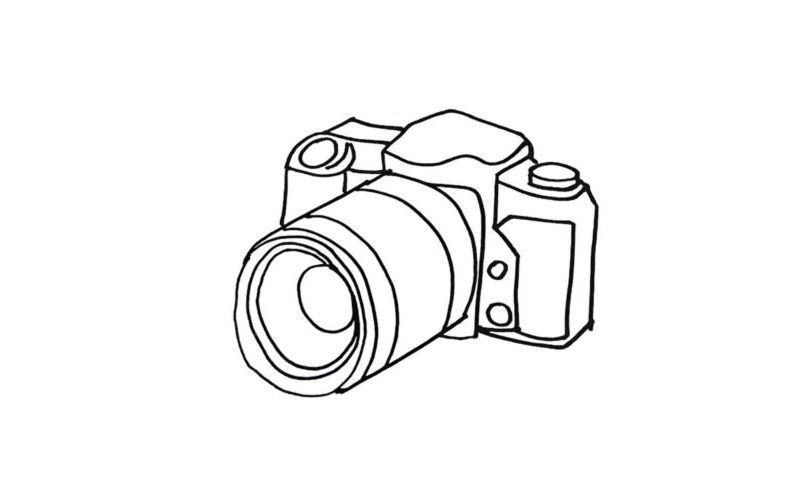
This video guide is all about precision. Every single part needs to be smooth. Keep that in mind while working on our how to draw a Photo Camera tutorial and you’ll be fine. So, the lens comes first (00 min 07 sec). You’ll need a series of simple circles connected to each other via straight lines. Remember: we’re dealing with a three-dimensional image.
Once the circle in the middle is in place, add three more inside of it. Next, move on to the body of the lens with those lines I mentioned earlier (00 min 31 sec). Cover the side of it with a number of half-circles (00 min 46 sec). Alright, we’re done with the first half of the how to draw a Photo Camera tutorial. The rest is easier but comes with more details.
Just watch the video closely and follow my lead (00 min 57 sec). Divide it into three parts – the middle and the sides. The central part is easy (01 min 16 sec). The sides are almost identical to each other and look a bit like drinking bottles.
Before you learn how to draw A Photo Camera, did you know?
These days, even the little kids know how to take a photo and have phones with built-in cameras. So, there’s nothing new there. However, a couple of decades ago, that wasn’t really the case, and people that had photo cameras were considered to be extremely cool. Still, for professional photography, the iPhones and such aren’t really that good.
Do you know when the very first photo was taken? Back in 1826, almost 200 years ago. By the way, a video camera operates almost the same way, with the exception that it takes 24 pictures per second, and when put together in a row, they create the illusion of motion for our eyes, and everything looks nice and smooth.
