Learn How To Draw A Smiling Face Quickly
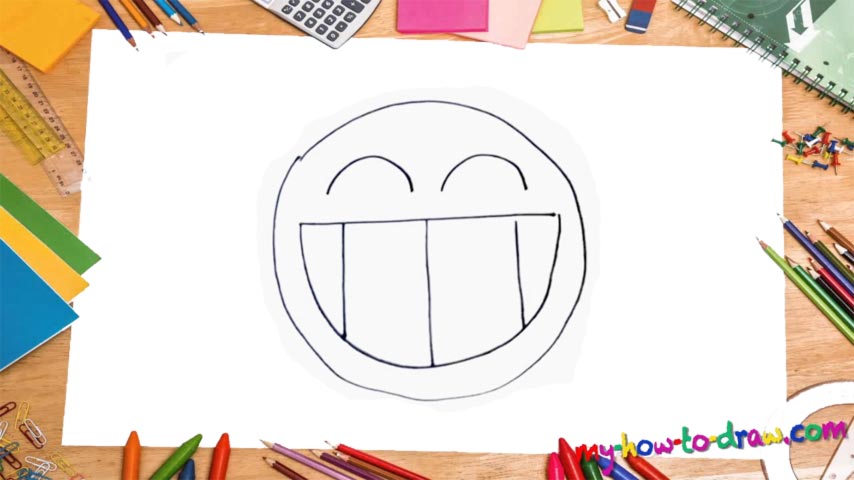
If you’ve been looking for the easiest lesson on the Internet, this one is definitely in the Top-3. Even a 3-year-old will be able to pull this how to draw A Smiling Face tutorial off, as it’s quite basic, not to say primitive. The circle that outlines the head is the first thing on the menu (00 min 09 sec). Make sure it’s nice and round.
The scary mouth is next (00 min 18 sec). Start with a straight horizontal line and then add a half-circle to cover the bottom. On the inside, you’ll need three straight vertical lines to imitate the teeth (00 min 30 sec). The final part of our how to draw A Smiling Face tutorial are the eyes right above the mouth (00 min 38 sec). Two half-circles – that’s what you’ll need for them.
Looks pretty creepy, doesn’t it? Well, that’s what we were going for. You can try to add some ears and maybe a nose, or color the eyes black. But the main part is done. Go over it a couple of times to really “nail” it and maybe even print it out to use as a badge!
Before you learn how to draw A Smiling Face, did you know?
When we smile, we look more friendly and attractive – that’s what the doctors, scientists, and psychologists tell us. Smiling makes us feel better about ourselves and helps solve even the hottest disputes. You won’t see a sad man/woman in the ads/commercials, simply because when a person (especially a woman) smiles, we tend to trust them more.
Interesting fact: in order for a human being to smile, as much as 42 muscles have to work in perfect sync. Even though it’s all physical, and we smile by flexing our muscles, there’s a lot more to it than meets the eye. In this particular drawing, we’re dealing with a rather simple image of a human head. It’s got quite a grin, that’s for sure. As an avatar, it will be just perfect.