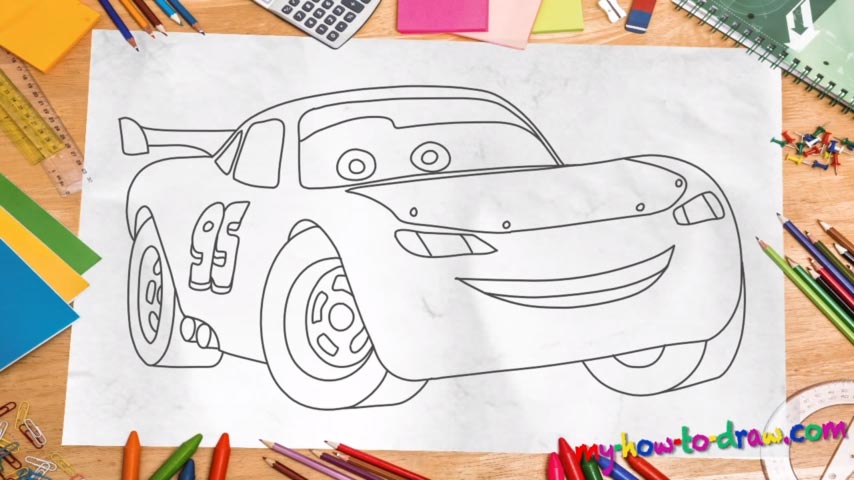
Learn How to draw Lightning McQueen Quickly & Easily!
We begin this tutorial with the very top – the roof (00 min 27 sec). Draw a big curvy line for the upper half and put the windshield inside of it. Those tiny two circles are, of course, the eyes (01 min 17 sec). Ok, we’re done with the intro to this how to draw Lightning McQueen tutorial. The side windows are easy and won’t cause you any problems (01 min 40 sec). The next part is where the real fun begins.
Use a curvy line in the left corner to define the rear end (02 min 03 sec). See those identical lines that look like question marks? Make sure you place them exactly right; if you mess us their positions, the entire drawing will look weird. Next, use four smooth and round oval shapes/circles to put the front left tire in (02 min 36 sec).
Don’t forget about that small detail at the bottom that turns it into a 3D tire (03 min 07 sec). The second tire is pretty much the same. Now it’s time to get to the final step in this how to draw Lightning McQueen tutorial – the front of the car (04 min 00 sec). The hood should be nice and shiny, just like in the animated movie series. The front right tire is the simplest of them all; use two curves to draw it (04 min 17 sec).
The mouth should be placed a bit lower than the middle of the hood (04 min 41 sec). The lights sit right above in on both sides. Once you add that fancy “plate” below the windshield, the front will be done. Now let’s jump to the back and add the spoiler (05 min 55 sec). Finally, draw the “95” on the side and put in the details on the side tires – that’s it (06 min 12 sec).
Before you learn how to draw Lightning McQueen, did you know?
As one of the fastest and most successful riders in the world, McQueen has certain expectations to meet. He’s one of those guys that live life to the fullest: party like there’s no tomorrow and race like it’s the last lap in their career. But, over the years, he learns to be responsible.