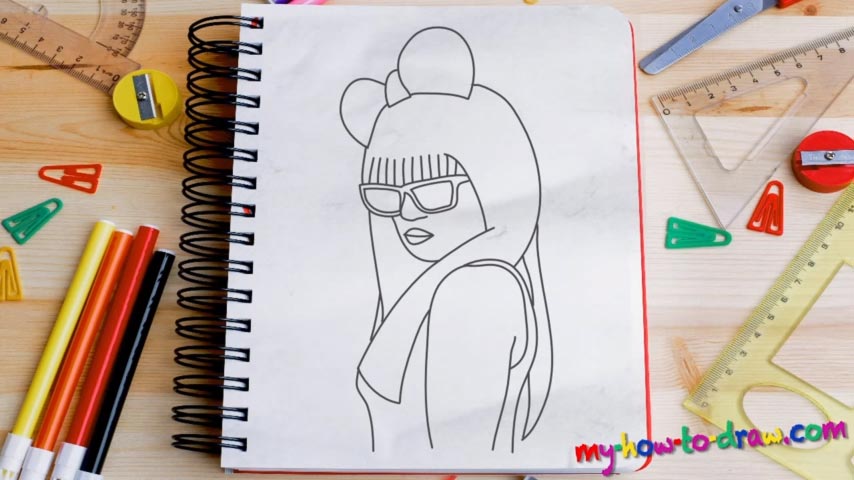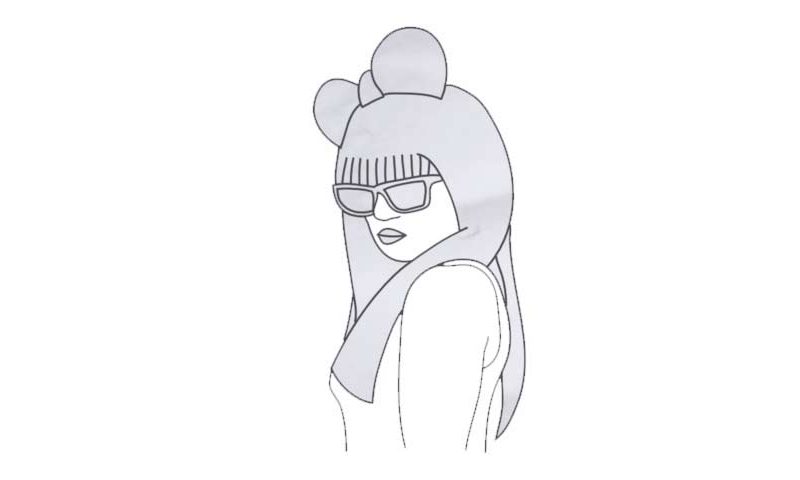
Learn How to draw Lady Gaga Quickly & Easily!
The eyes of the pop star are covered in glasses (00 min 28 sec). They are pretty big and stylish, just like you would expect from this celebrity. Use several short but accurate lines to complete this part of the how to draw Lady Gaga tutorial. The glasses sit on top of the nose; it’s just one curve right between the two “eyes”. Next, use two mid-sized curves to define the head and a huge vertical line for the shirt (01 min 00 sec).
The mouth consists of two equally-sized shapes on top of each other (01 min 12 sec). If you’re happy with the drawing so far, go to the top corner of the paper and add the fancy bow (01 min 31 sec). It’s pretty easy and looks more like a bra than anything else. But as soon as you go ahead and outline the head, everything will clear up. The body doesn’t come with many details.
Her arm, the next stage in this how to draw Lady Gaga tutorial, is straightforward (02 min 10 sec).Those lines right next to it are the strands of the singer’s long hair (02 min 28 sec). Once the lower half of the composition is done, move back up to the hair and add the cute forelock (03 min 05 sec). You’ll need several simple lines for that. Finally, to make the glasses look more realistic, draw two identical rectangles inside.
Before you learn how to draw Lady Gaga, did you know?
A pop icon, a talented singer and a woman with a strong will – that’s who Lady Gaga is. She’s been a celebrity for over a decade now, and the fans still love her like she came up yesterday. Her extravagant shows, provocative music videos, and catchy hooks turned her into a superstar.
With sold-out stadium tours, countless #1 singles and albums behind her back, Gaga is now working on a new project that will, most likely, have a great impact on the genre and the music industry in total. She’s 31 years old and has all the time in the world to deliver a masterpiece!