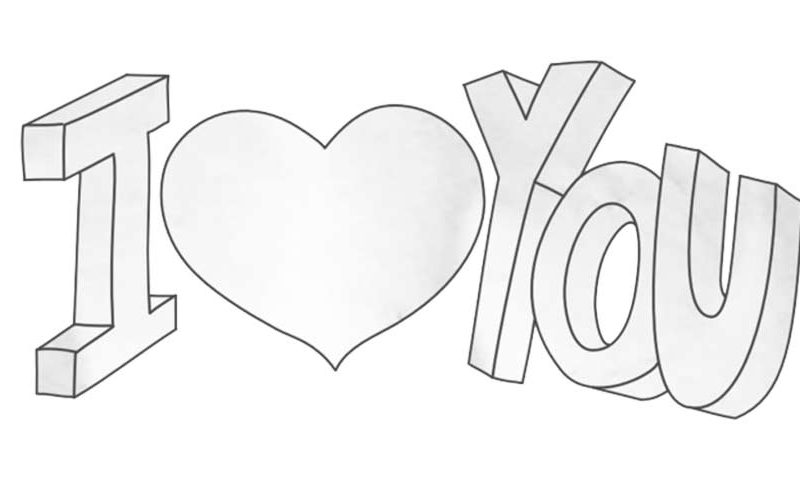
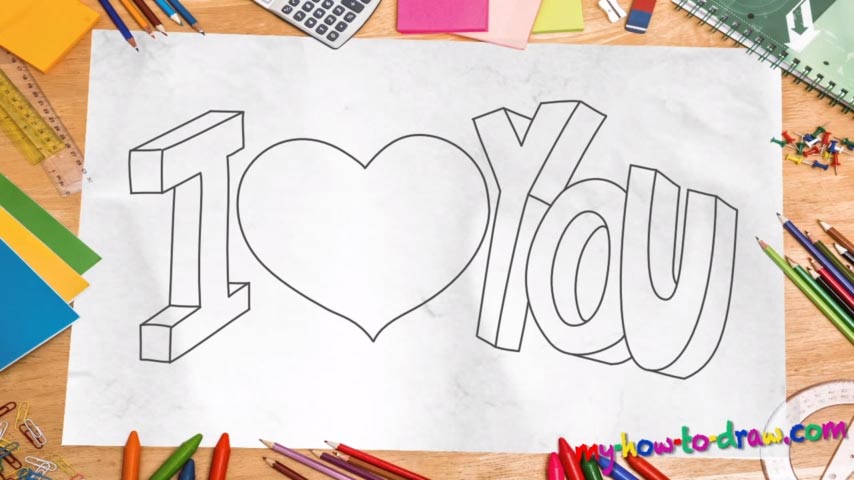
Learn How to draw ‘I Love You” in 3D Letters Quickly & Easily!
Place your paper right. Use only dark strokes and make sure you’ve got at least an hour or two to dedicate to this how to draw ‘I Love You” in 3D Letters tutorial. True, it’s super-easy and you’ll be able to finish it in less than 5 minutes. But take some time and try to enjoy it without rushing anything! We start with the letter “I” (00 min 28 sec). You’ll need to be 100% confident that you got the perspective and the angle right.
Remember: at this point, we’re not concerned about 3D. Once the letter is in place, put a huge heart right next to it (00 min 55 sec). The last part of the phrase – the word “You” – comes next (01 min 08 sec). Again, the angle is the most important thing here. Don’t be afraid to rewind the video and try multiple times before you nail it. Now, we could finish this tutorial right now, because the drawing is done and it looks pretty nice.
But if you want to truly master this how to draw ‘I Love You” in 3D Letters guide, stick around! The last stage includes turning this 2D composition into a 3D masterpiece. Let the video guide you and use a series of simple yet accurate lines to create the impression of a three-dimensional picture (01 min 44 sec). Be careful with your lines and try to make them as smooth and round as possible.
Before you learn How to draw ‘I Love You” in 3D Letters, did you know?
We constantly forget to let the ones we care about know that we love them. It’s very important to say those three magical words because they turn the world into a much better place. This is one of the least demanding tutorials on our website, but the message is really strong.
You can use it to improve your drawing skills and/or bring a smile to your significant other’s face. It’s super-easy and won’t take more than three minutes of your life. But the end result is truly marvelous and is capable of making a huge difference for you and the person you love.

