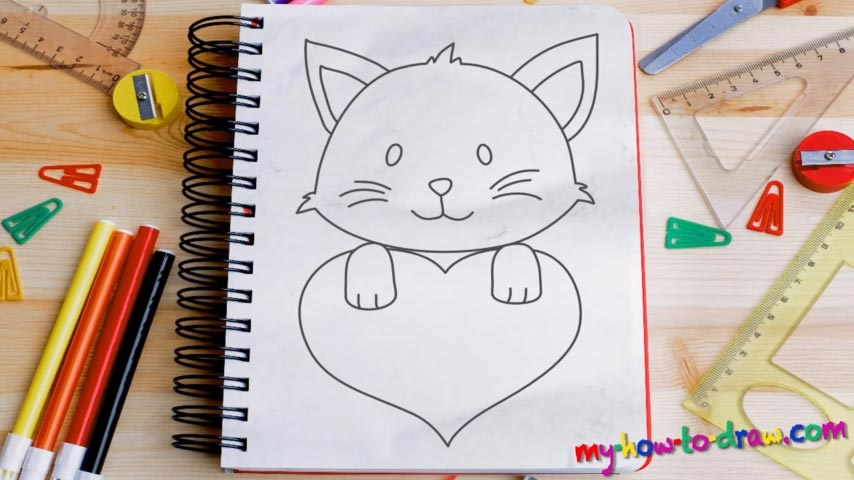
Learn How To Draw Cute Kittens With Love Hearts Quickly & Easily!
Cuteness is our #1 priority in this wonderful guide. Keep that in mind while working on the kitty. And don’t forget to use a marker with hard strokes and position your paper vertically just like I did. The cat, or, rather, its nose, is the first thing we’re going to take care of in this how to draw Cute Kittens With Love Hearts tutorial (00 min 28 sec). The eyes – a couple of tiny circles – come next.
In order for the shape of the head to be correct, use three fluffy lines on both sides and on the top of the paper to create some sort of an outline (00 min 50 sec). After those are in place, carefully connect them to each other using a super-smooth curve. The head should look like a bowler of some sort. Before you move on to the heart, don’t forget to draw the cute ears (01 min 17 sec). The whiskers are also quite important (01 min 37 sec)!
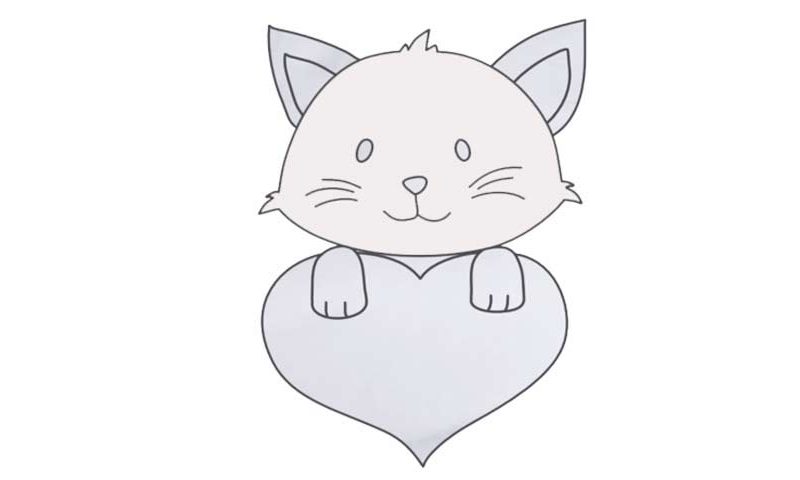
You’ll need six simple lines in total to get this done. The paws are the final part of this how to draw Cute Kittens With Love Hearts tutorial (01 min 50 sec). As for the heart, put in a V-like shape right between the paws; then, use two S-like curves to complete the drawing. Yes, that’s right – we’re now officially done with this fine guide!
Before you learn how to draw Cute Kittens With Love Hearts, did you know?
How can you tell someone that you love them without sounding too corny? Some folks really like to use cute tiny cats (or, rather, kittens) to let their significant others know about their feelings. We also use this “technique” to say we’re sorry.
It’s a universal thing, actually, and you can even use that space on the heart to write whatever you want to further emphasize your intentions. The kitten doesn’t have to be super-realistic – go for something minimalistic that looks nice and smooth.