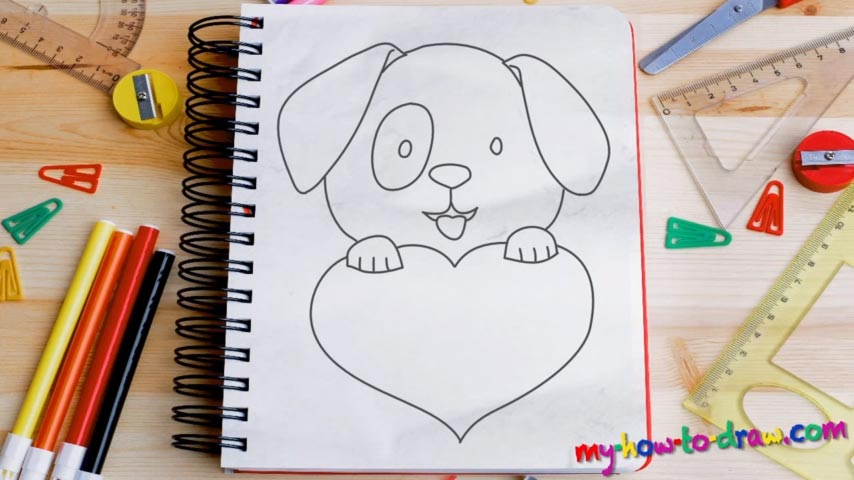
Learn How To Draw A Cute Puppy Love Heart Quickly & Easily!
Start this adorable drawing with the nose (00 min 28 sec). The mouth and the tongue come next. The eyes aren’t as sophisticated as in the most tutorials on our website (00 min 55 sec). You’ll need two simple oval shapes to complete this part of the how to draw A Cute Puppy Love Heart guide. Now it’s time to take care of the ears (01 min 02 sec).
They aren’t at all complicated, but I recommend using 2 or even 3 lines to get this done. Draw a curvy line to connect them at the top and move below the mouth to put in the paws (01 min 38 sec). They are also identical and simple. What you should do next is use three lines to complete the head: two vertical ones on both sides and a line that looks like a “V” between the paws (02 min 02 sec).
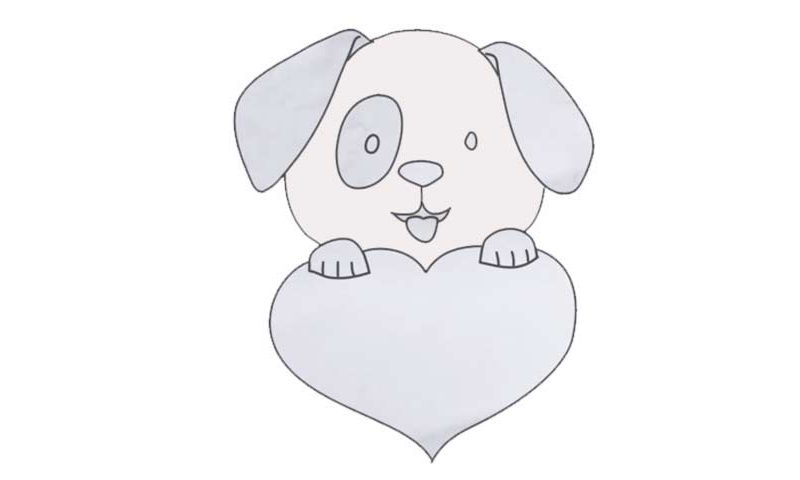
The final part of this how to draw A Cute Puppy Love Heart tutorial is, of course, the heart itself (02 min 14 sec). That V is actually a part of it. All that’s left to do is add two S-like shapes at the bottom. You don’t need any additional details inside the heart – just leave it at that. That cute oval around the left eye will make your dog look even more adorable (02 min 25 sec).
Before you learn how to draw A Cute Puppy Love Heart, did you know?
It’s safe to say that the majority of drawings look better when you add a puppy on top of it. In this particular example, we’ve got a doggy holding a heart with its little paws. Don’t tell us you don’t find that absolutely adorable! Even the rough-tough fellas like this concept.
If you’re an experienced artist, you can go ahead and work on the size of the heart. Or, you can even switch that dog for some other animal, like a kitten, for example. The puppy looks great, though, and doesn’t need any additional features to be totally awesome.