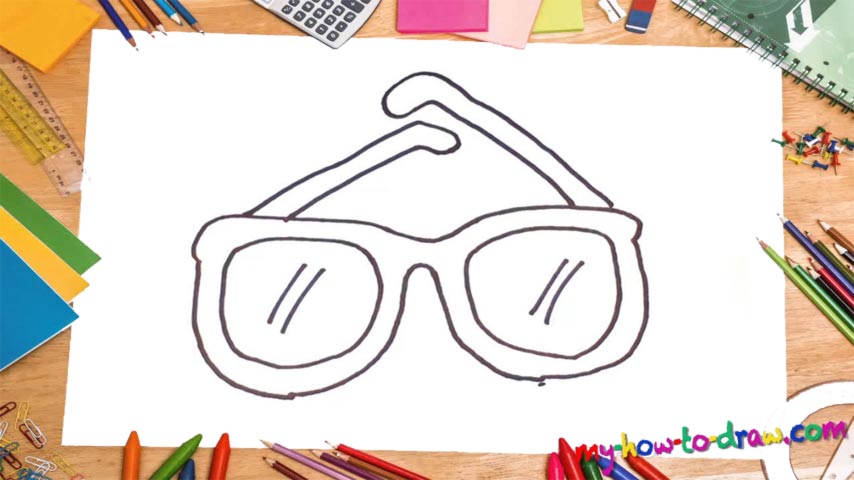
Learn How To Draw Glasses Quickly
The top that resembles the wings of a mighty eagle comes first (00 min 10 sec). It should be nice and curvy, with round edges. Once that’s in place, move on to the next step in this how to draw Glasses tutorial. You’ll need two identical curves that look like the letter “C” on both sides (00 min 25 sec). As for the middle, watch the video closely to get it right.
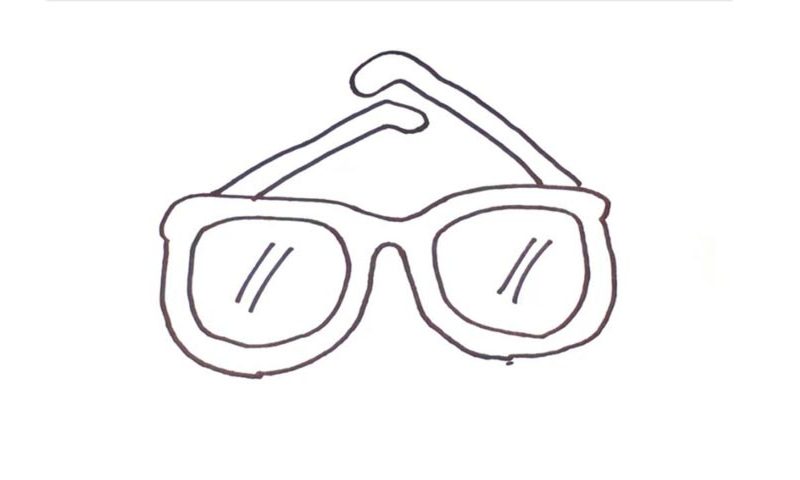
Looks a lot like a mountain, doesn’t it? Alright, we just did a great job of outlining the glasses. Now it’s time to get to the meat and potatoes. Add two “rectangular circles” inside each eye just like you see in my example (00 min 44 sec). Those two lines will make the glasses look more realistic. If you want, go for something different but don’t stray from the original idea too much.
The last stage of this how to draw Glasses tutorial has to do with the frame (01 min 00 sec). As you can see, I’ve got two shapes next to each other; I call them hockey sticks. The one on the right is “taller”, but that’s only because it’s more open than the one on the left. I didn’t color the glasses, but you’re more than welcome to do that.
Before you learn how to draw Glasses, did you know?
In the 70s, men and women with glasses were never considered to be the coolest folks in the world. But with the rise of the 21st century, everything changed. Today, pretty much all the big-time CEOs and gifted professionals wear glasses, and they make them look cool.
By the way, did you know that almost 95% of senior citizens (65+ years old) wear special lenses that correct their eyesight? Obviously, there are countless fancy and bold designs available to you if that’s your cup of tea. But most folks prefer the classic design simply because it’s more comfortable.